
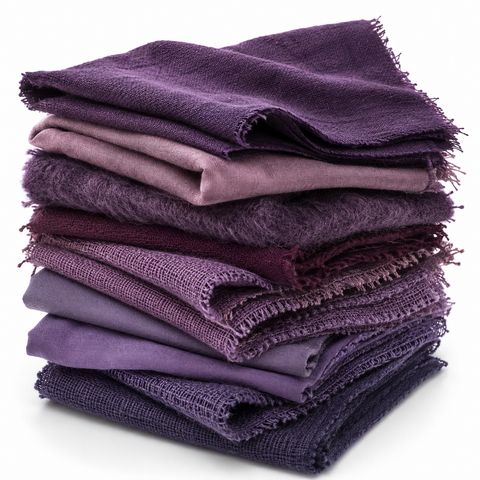

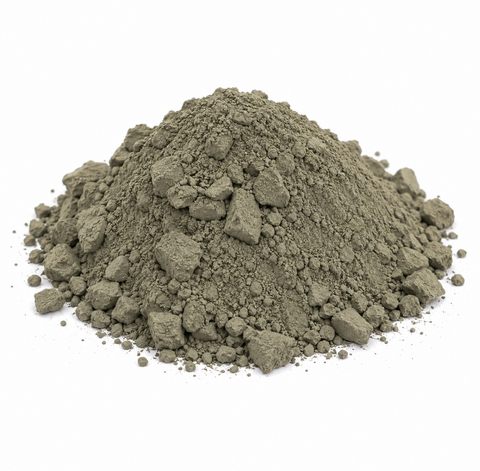
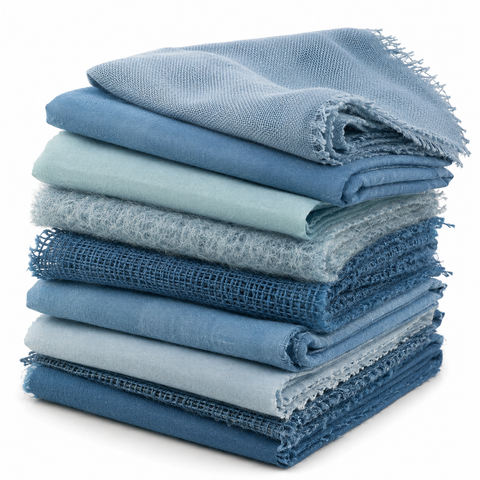
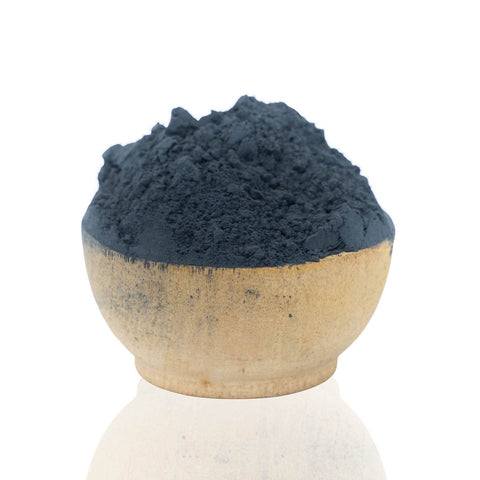
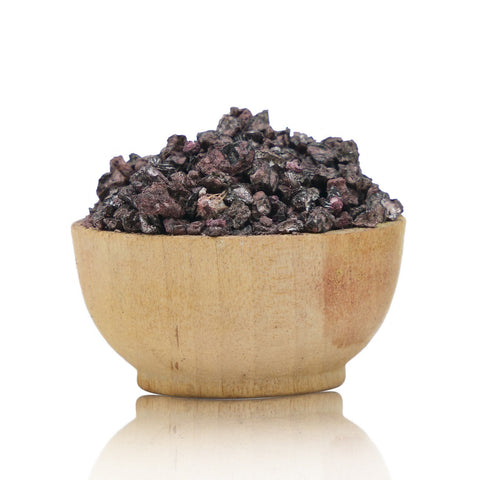
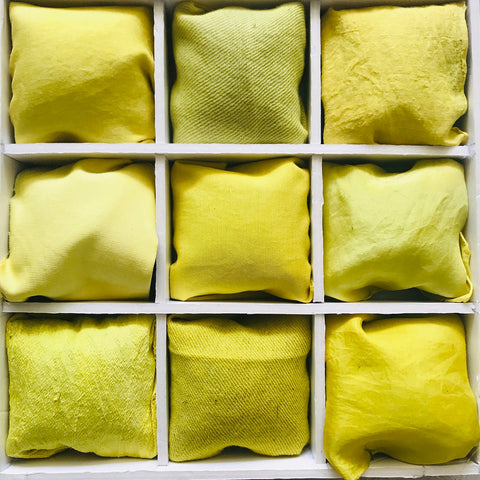
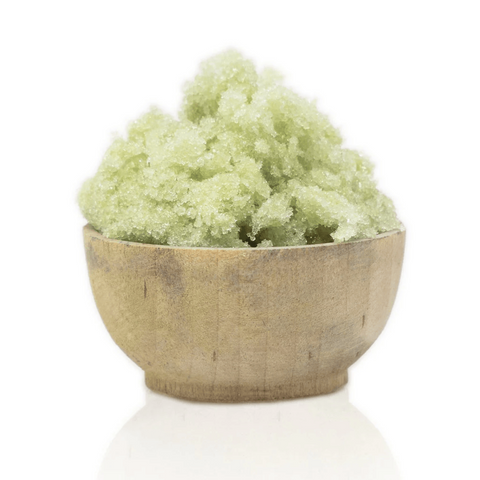
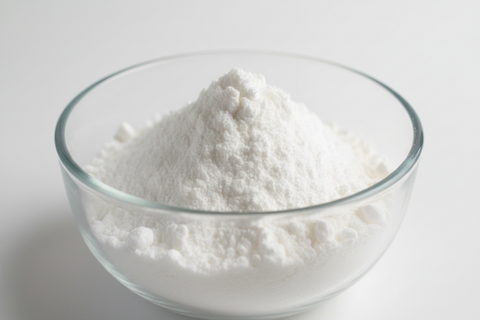
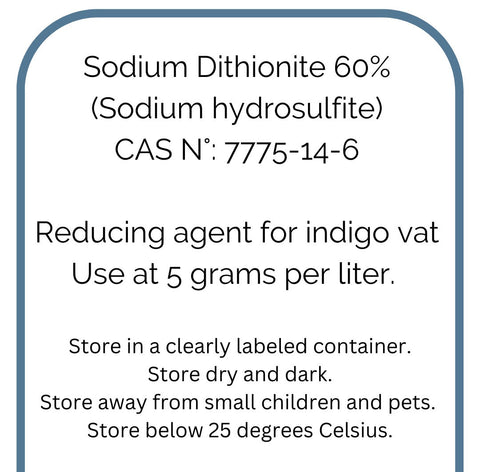
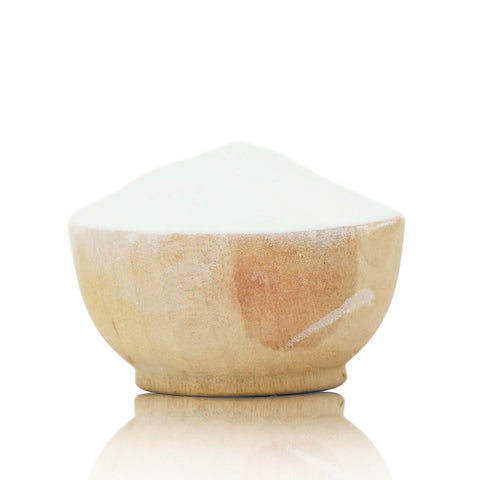




Learning how to make an indigo vat is much easier than it first appears. In this guide I'll show you how to prepare a reliable hydros indigo vat using indigo powder, sodium hydrosulfite (aka Hydros, aka Spectralite) and soda ash. Whether you're completely new to natural indigo dyeing or want a dependable recipe that simply works, this method is the one I teach in my workshops because it is fast, stable and beginner-friendly.

What Is an Indigo Vat?
Unlike most natural dyes, indigo is not naturally soluble in water. Before it can dye fabric, it must be chemically reduced, meaning the oxygen is removed from the indigo molecule so it becomes soluble.
A hydros indigo vat uses sodium hydrosulfite (also called sodium dithionite) as the reducing agent and soda ash to create the alkaline environment needed for the reaction.
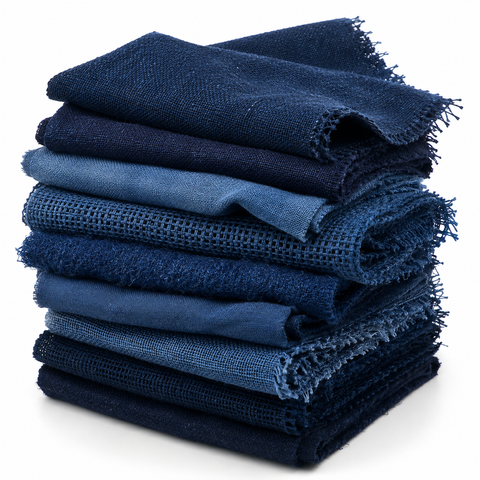
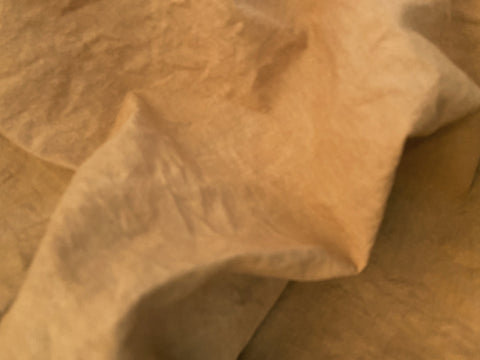
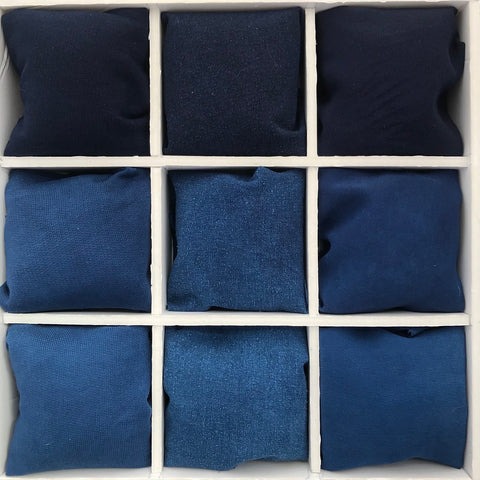
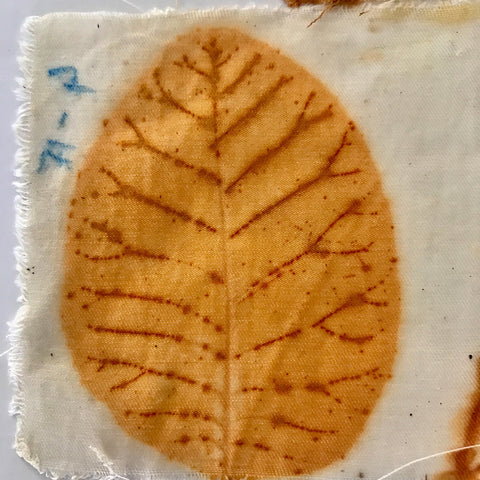
Once your textile is removed from the vat and exposed to air, oxygen returns to the indigo, transforming the fabric from yellow-green to the beautiful blue that has made indigo famous for thousands of years.
Ingredients
This recipe makes a strong 5 litre indigo vat, suitable for approximately 1 kg of fibre dyed to a medium blue.
You'll need:
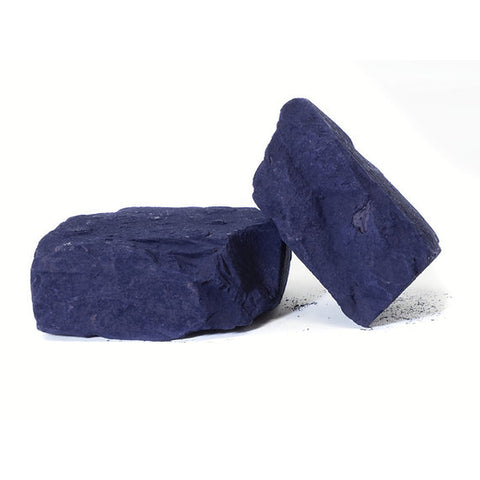
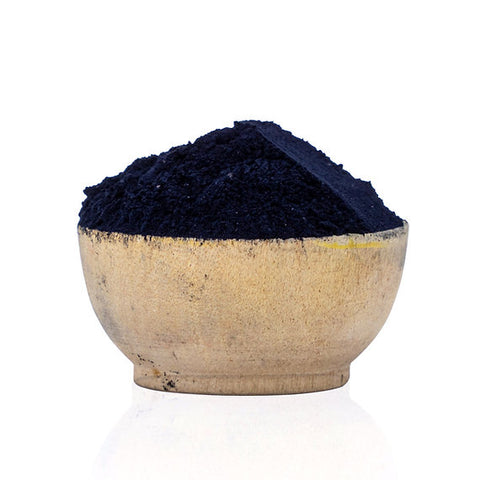
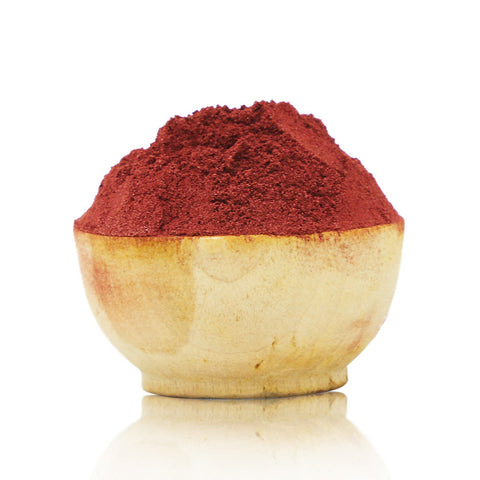
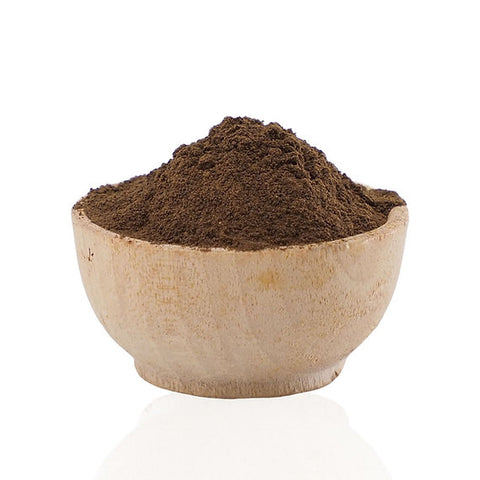
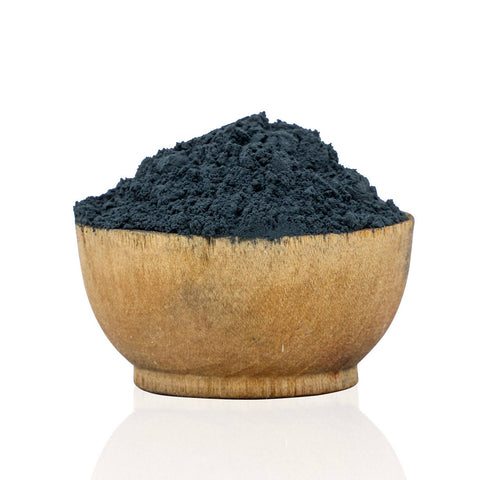
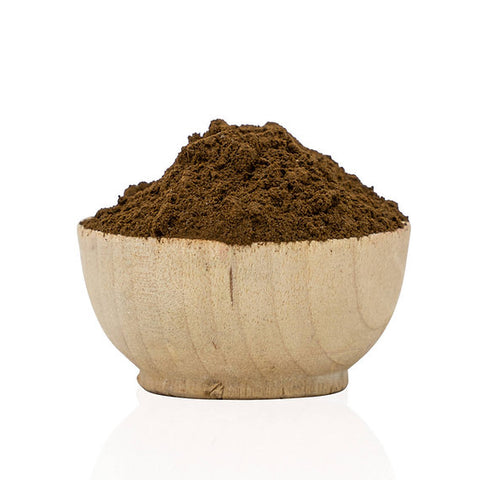
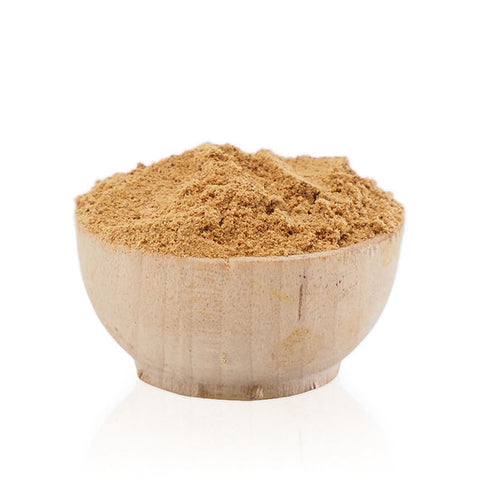
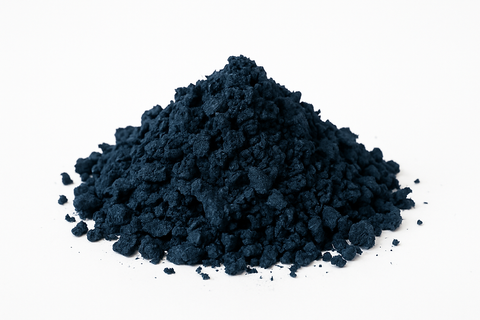
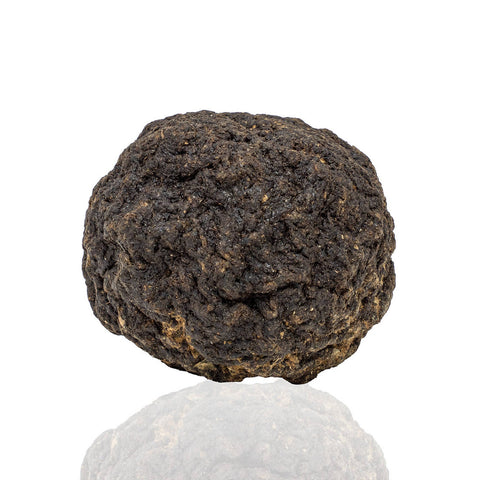
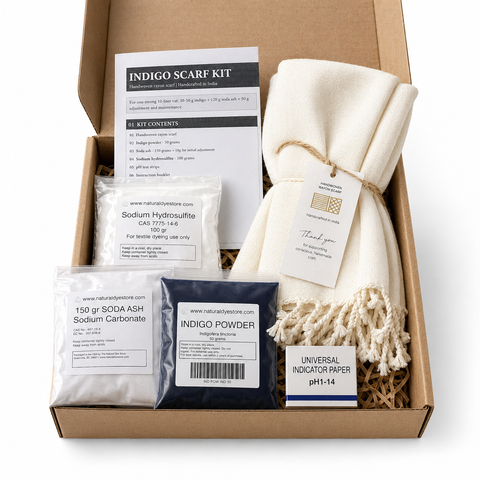
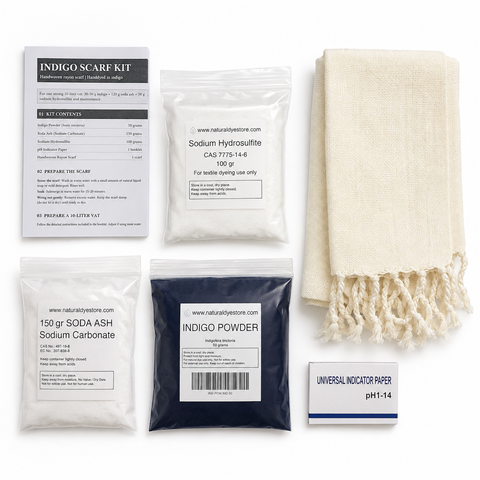
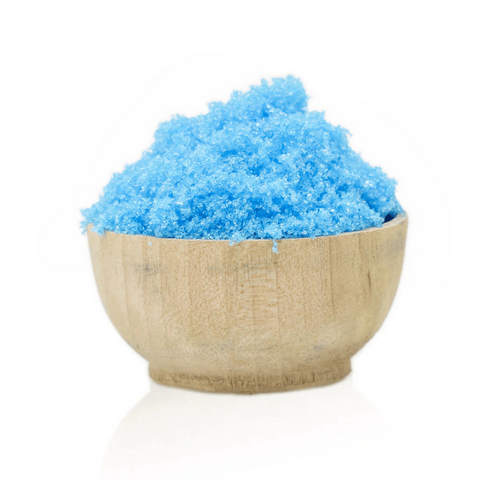
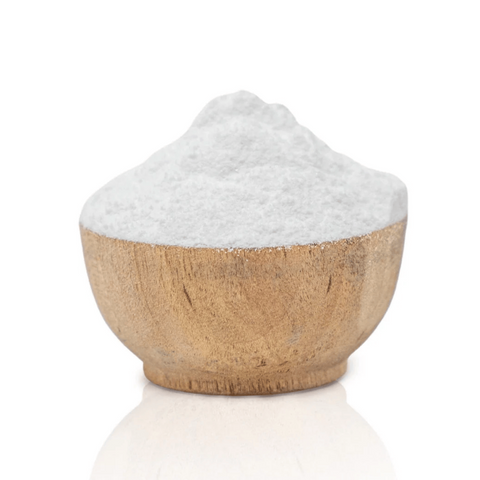
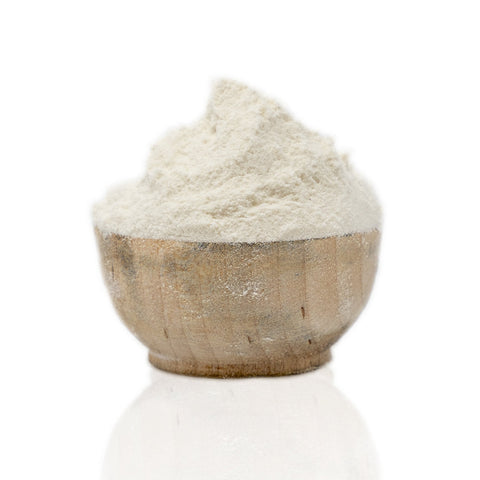
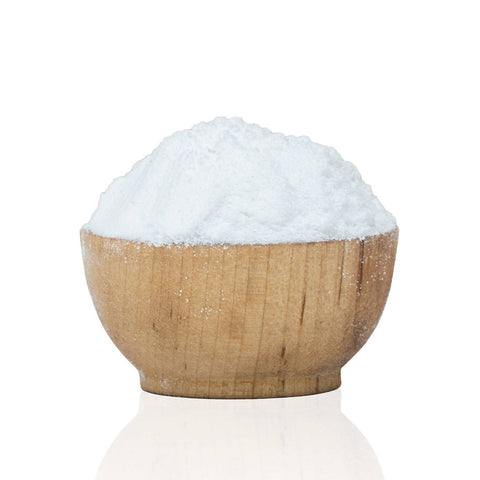
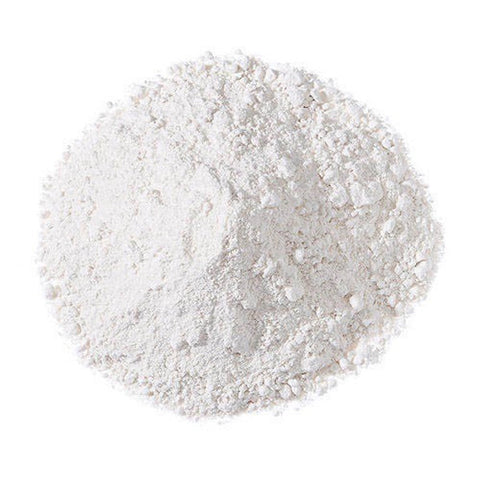
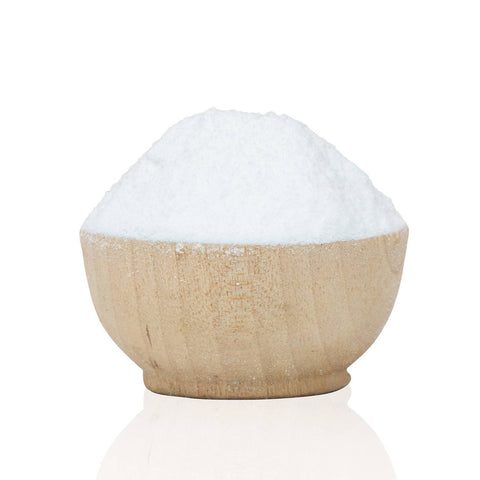
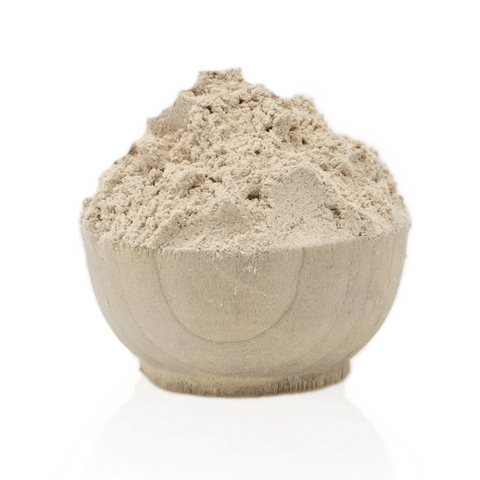
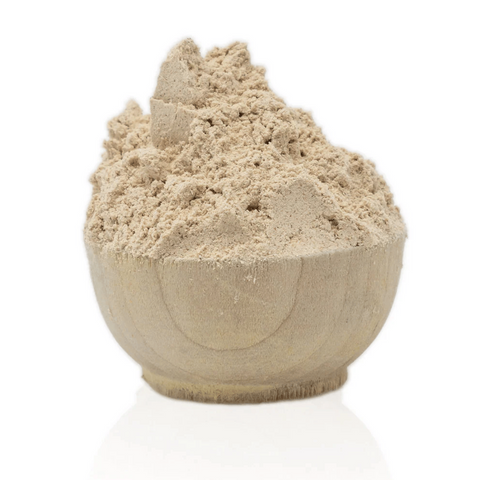
- 25 g natural indigo powder
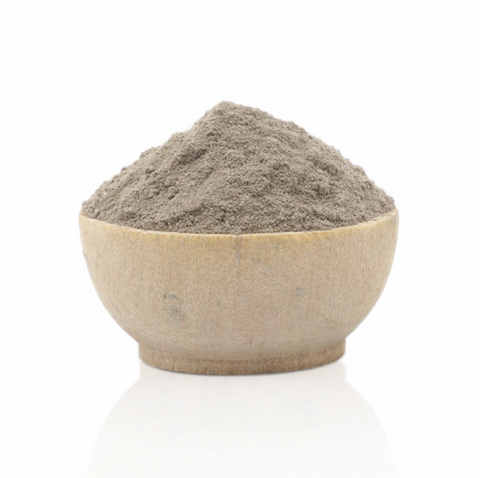
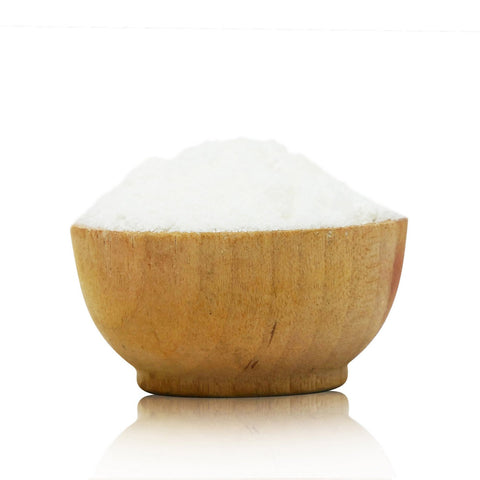
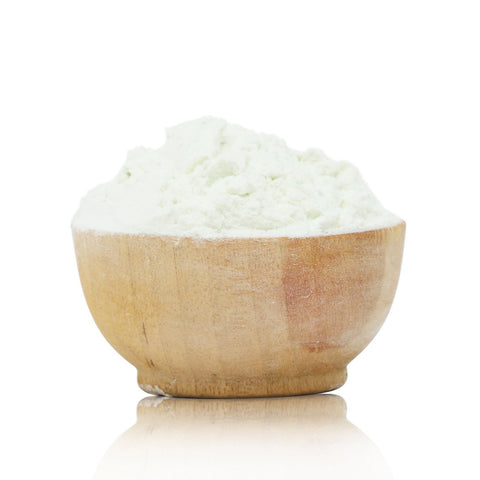
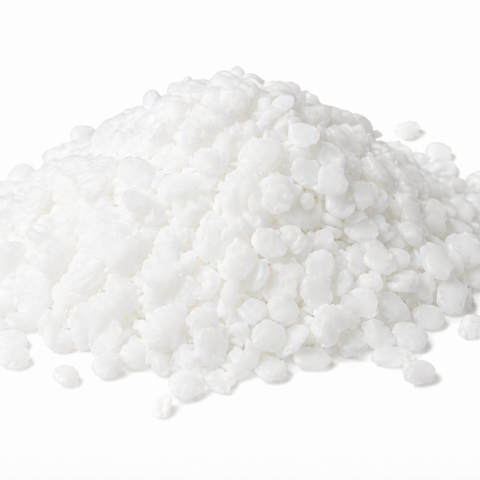
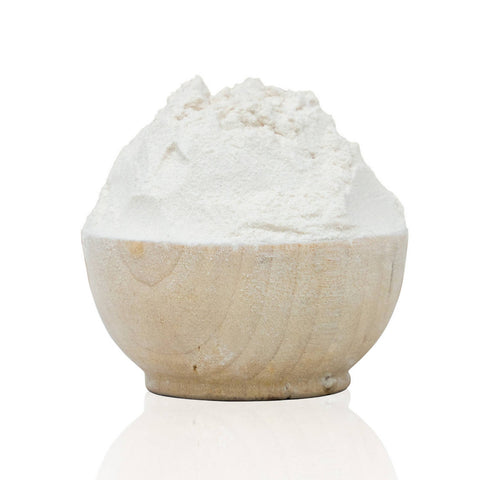
- 25 g sodium hydrosulfite
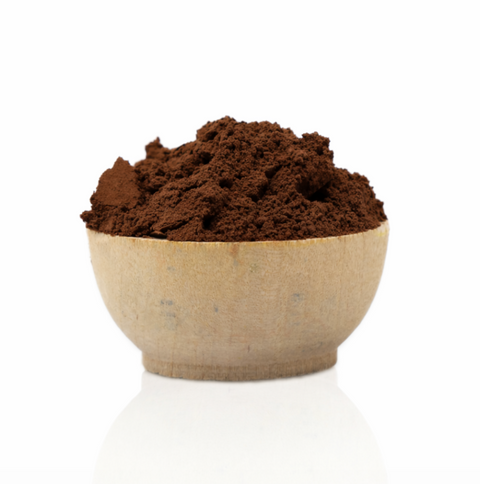
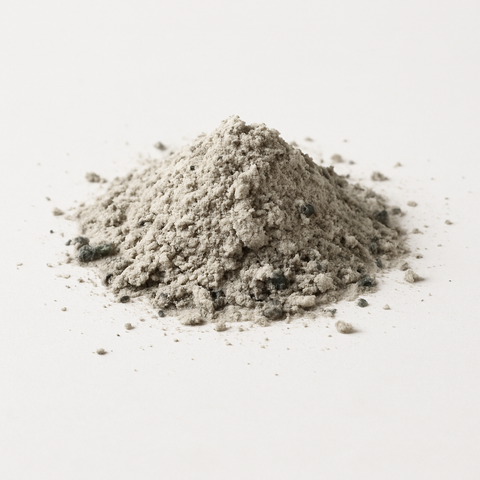
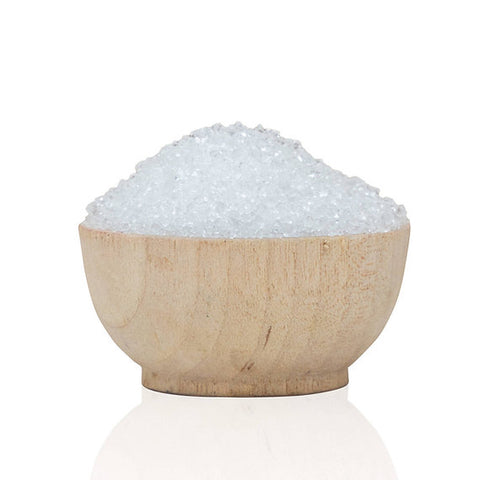
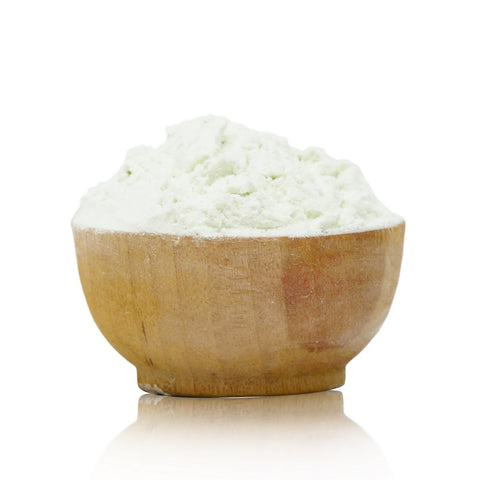
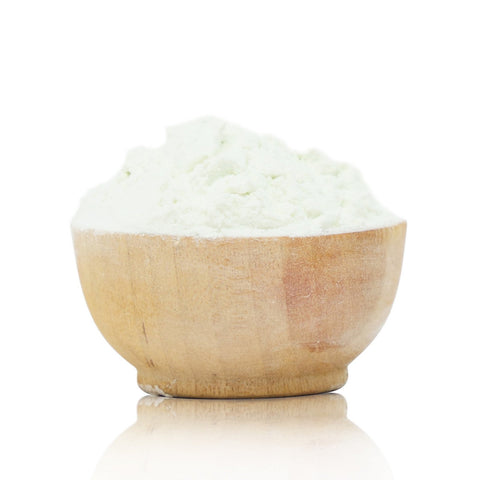
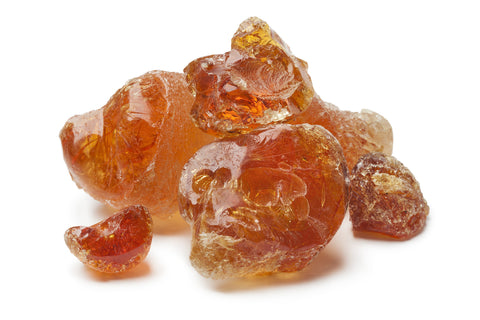
- 60 g soda ash
- 5 liters of hot water (approximately 50–60°C)

This recipe can easily be scaled up or down.
Per liter of water you will need to weigh:
| Vat Strength | Indigo | Sodium Hydrosulfite | Soda Ash |
|---|---|---|---|
| Light | 2 g | 5 g | 12 g |
| Medium | 3–4 g | 5 g | 12 g |
| Strong | 5 g | 5 g | 12 g |
Equipment
- 1 liter glass mason jar
- Large bucket (5–20 litres) with lid
- Small bowl
- Spoon
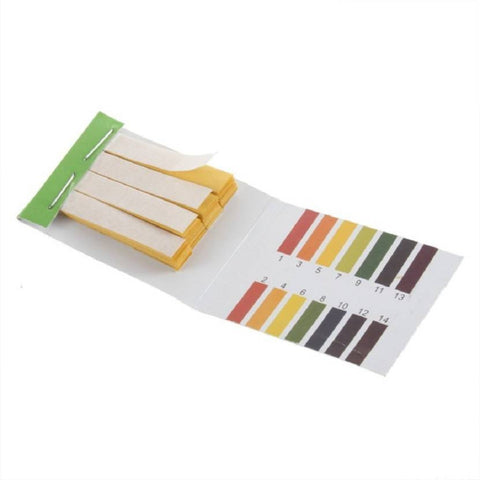
- pH strips
- Thermometer (recommended)
- Vinegar
- Kettle or another source of hot water
A stainless steel bucket is particularly useful because it can be gently reheated if necessary.
Before You Begin
Natural indigo can be produced from several plant species, including:
- Indigofera tinctoria
- Indigofera suffruticosa
- Persicaria tinctoria (Japanese indigo)
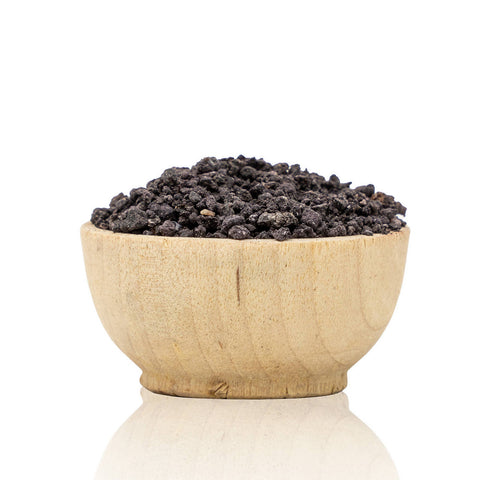
This powder is already concentrated indigo pigment, so not the raw plant (that is another story for another day). Any concentrated indigo powder will work well in this recipe, even though strengths vary per producer.
One important note concerns the sodium hydrosulfite. It has a limited shelf life and slowly loses strength as it ages, especially if exposed to moisture, warmth, or sunlight. Fresh hydrosulfite is white. If yours has developed a yellow tint, it will still work, but you may need slightly more to achieve proper reduction.
Step 1 – Dissolve the Soda Ash
Add the measured soda ash to a small bowl.
Pour over a little hot water and stir until completely dissolved.
Transfer this solution to your mason jar.
Step 2 – Prepare the Indigo Paste
Place the indigo powder into the bowl.
Add a small amount of hot water and mix until you have a completely smooth paste.
Take a few minutes with this step. Any lumps left in the indigo at this stage will be much harder to disperse later so you will want to take your time with this.
A smooth paste produces a smoother, healthier vat.


Step 3 – Combine the Indigo
Add the indigo paste to the alkaline solution in the mason jar.
Rinse the bowl with a little more hot water so none of the indigo is wasted.
Top the jar up with hot water until it is almost full.
Stir gently until evenly mixed.
Step 4 – Reduce the Indigo
Measure the sodium hydrosulfite.
Add half of it slowly while gently stirring.
Once everything has dissolved, stop stirring completely and allow the vat to rest undisturbed.
Over the next 30–40 minutes the reduction process begins.
A healthy hydros indigo vat develops several characteristic signs:
- A coppery sheen forms on the surface.
- A floating "flower" or bloom appears.
- The liquid changes from blue to yellow-green.
- Small bubbles may appear as oxygen leaves the vat.
These are all excellent signs that the reduction process is working correctly.

Step 5 – Test the Mother Vat
Before preparing the larger vat, perform a quick test.
Wet your fabric thoroughly.
Lower it gently beneath the surface of the liquid and leave it submerged for about 20–30 seconds.
Lift it out carefully without splashing.
The fabric should emerge yellow-green.
Within a minute or two it will oxidise and slowly turn blue.
This colour change is one of the most fascinating parts of indigo dyeing.
Allow the fabric to oxidise completely before dipping again.
Several short dips always produce deeper, richer blues than one long immersion.
Step 6 – Prepare the Full Dye Vat
Fill your larger bucket with hot water (approximately 50–60°C).
Dissolve the remaining sodium hydrosulfite.
Carefully pour the reduced mother vat into the larger container.
Avoid splashing or vigorous stirring, as oxygen is the enemy of a healthy indigo vat.
Check the pH.
A hydros indigo vat performs best between pH 9 and 11.
If necessary, add a little extra soda ash until the correct pH has been reached.
Allow the vat to rest for another 20–30 minutes before dyeing.
Dyeing with an Indigo Vat
Unlike most natural dyes, indigo is built up in layers.
Rather than leaving the fabric in the vat for a long time, use several short dips with complete oxidation between each dip.
For the best results:
- Wet the textile before dyeing.
- Lower it gently beneath the surface.
- Avoid introducing unnecessary air into the vat.
- Allow full oxidation between dips. For reference: The fabric should be blue without a green cast, which should take at least 15 minutes on a warm day.
- Repeat until the desired shade is reached.
Remember that wet indigo always appears considerably darker than the finished dry fabric.

Maintaining Your Indigo Vat
One of the great advantages of a hydros indigo vat is that it can remain usable for a long time.
A healthy vat should remain:
- yellow-green beneath the surface
- covered by a coppery sheen
- low in oxygen
If the vat begins turning blue again, it has become oxidised.
Usually it only requires:
- a small addition of sodium hydrosulfite
- a little soda ash if the pH has dropped
- another 20–30 minutes of resting
Keep the vat covered whenever possible and avoid unnecessary stirring.
Washing the Finished Textile
Once dyeing is complete, rinse the textile thoroughly in cool water until the water runs clear.
Finish with one rinse containing a small amount of vinegar.
This helps restore the fibre to a neutral pH after the alkaline dye bath.
Allow the textile to dry away from direct sunlight.
Is My Indigo Vat Healthy?
1. What color is your vat?
Yellow-green
- Great! Your vat is reduced.
- Continue to the next check.
Blue
- Your vat has oxidized.
- Add a small amount of sodium hydrosulfite.
- Stir gently.
- Cover the vat.
- Wait 20–30 minutes.
2. Do you see a copper sheen?
Yes; Excellent. Your vat is reducing properly.
No
- Wait another 20–30 minutes.
- If nothing changes, add a little more reducing agent.
3. Is there a floating flower?
Yes; Your vat is healthy.
No;
- The vat may still be reducing.
- Wait longer before making adjustments.
(I would actually explain somewhere that the flower isn't mandatory. Some excellent vats don't produce a dramatic flower depending on the indigo, container, and reduction. I don't want people chasing a flower that may never become impressive.)
4. What color does your fabric come out?
Yellow-green
- Perfect.
- Let it oxidize.
Blue immediately
- The vat is oxidized.
5. Check your pH
9–11
- Ideal.
Below 9
- Add soda ash.
Above 11
- Usually acceptable, but avoid making it excessively alkaline.
6. Is the blue washing out?
Possible causes:
- Too few dips
- Didn't oxidize between dips
- Insufficient rinsing
- Weak vat
7. Is your vat exhausted?
Signs:
- Fabric becomes lighter with every dip.
- Copper sheen disappears.
- Reduction seems fine but little color transfers.
Refresh with:
Soda ash
Indigo
Sodium hydrosulfite
How to Dispose of an Indigo Vat
Try to use your vat until the indigo has been exhausted.
When you're finally ready to dispose of it, don't pour an active hydros vat directly down the drain.
Instead:
- Add approximately half a cup of vinegar.
- Stir or whisk vigorously to reintroduce oxygen.
- Check that the pH has returned to around 7.
- Allow the indigo sediment to settle.
- Pour off the clear liquid.
- Dispose of the remaining indigo sludge according to your local waste regulations.
Frequently Asked Questions
Does indigo require a mordant?
No. Indigo is a vat dye and bonds to the fibre through reduction and oxidation rather than through a mordant.
How long does a hydros indigo vat last?
With proper maintenance, a hydros vat can remain usable for weeks and can often be refreshed by adding small amounts of indigo, soda ash and sodium hydrosulfite.
Can I reuse my indigo vat?
Yes. Simply keep it covered between dye sessions and rebalance the chemistry when necessary.
Why does the fabric come out green?
Reduced indigo is yellow-green. As oxygen returns to the dye molecule, it transforms into its familiar blue color.
6 comments
Hartelijk dank voor het delen!
I have some Woad pigment powder. Can the same vat recipe be used? I have been interested in using my Woad but can’t find good info on how to use it.
Thank you
Elsbeth
Thank you. I will try this recipe.
Extremely helpful!!!!
This has been my indigo go to vat successfully since you shared it in San Miguel Mexico in the workshop you taught. This one might be slightly “tweaked” but ingredients the same. A successful vat every time!
To reuse my hydro vat…do I need to warm up d vat b4 rebalancing it by adding indigo, soda ash n hydrosulphite?