
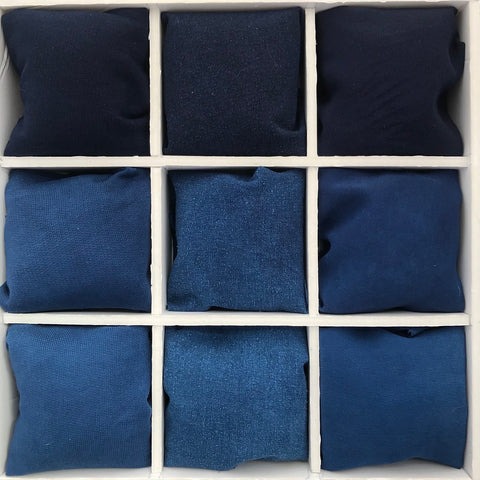


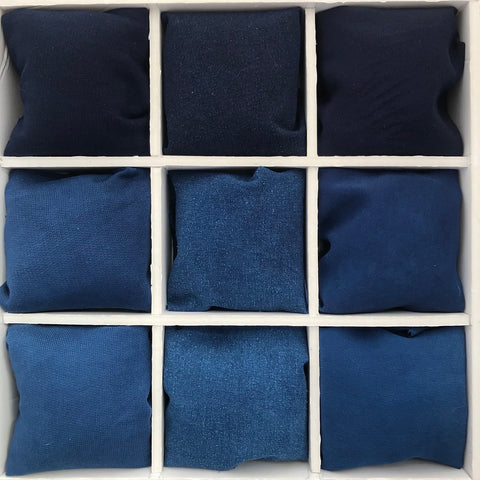
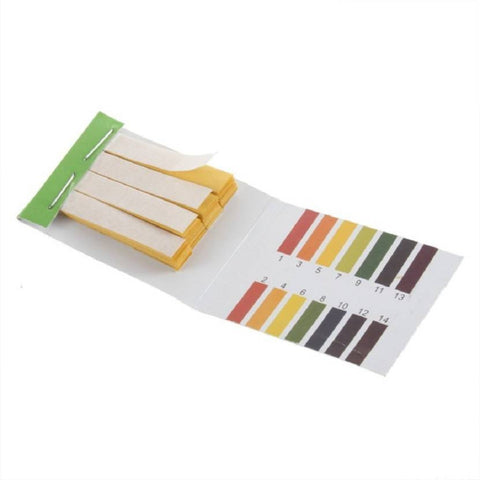
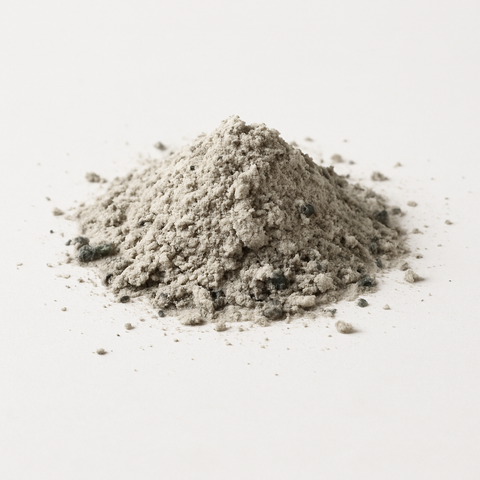











Create beautiful blue-and-white marbled patterns on cotton using nothing more than flour, water, and reduced indigo.
There is something wonderfully satisfying about allowing a material to do part of the designing for you.
Unlike batik, where every line is carefully drawn in wax, or shibori, where each fold is intentionally planned, this technique embraces a little unpredictability. A simple flour resist dries into a hard shell, and as it cracks, it creates tiny pathways that allow indigo to reach the cotton beneath. The result is a beautifully organic network of blue veins against a crisp white background, much like weathered stone or cracked porcelain.
The beauty of this method is that it requires very little equipment. Flour, water, cotton fabric, and freshly reduced indigo are all you need to begin exploring one of the oldest ideas in textile decoration: preventing dye from reaching selected areas of the fabric.
Although the recipe I use is extremely simple, the principle behind it has been practiced around the world for centuries.


What Is Resist Dyeing?
Resist dyeing is exactly what the name suggests. Before applying dye, certain areas of the fabric are protected—or resisted—so that they remain their original color.
Different cultures have developed their own remarkable ways of creating these protected areas.
In Japan, shibori uses folding, stitching, wrapping, clamping, and binding to keep portions of the fabric from absorbing dye.
In Indonesia, batik relies on hot wax applied with delicate tools called canting to produce intricate patterns before the fabric is dyed.
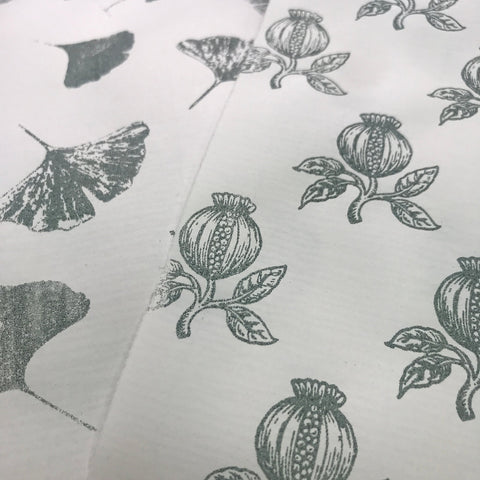
In Germany, traditional Blaudruck uses carved wooden printing blocks together with a starch-based resist paste called Papp. After printing, the fabric is dyed in indigo, leaving crisp white motifs against deep blue backgrounds.
India is famous for Bandhani, where thousands of tiny tied points create astonishingly detailed designs.
Even ikat can be considered a resist technique, although the resist is applied to the yarns before they are woven rather than to the finished fabric.
The technique in this tutorial is much simpler than any of these traditional methods, but it relies on exactly the same principle.
Why Flour?
Professional resist pastes often contain starches, gums, or specially prepared ingredients. They are excellent, but they are not always easy to obtain.
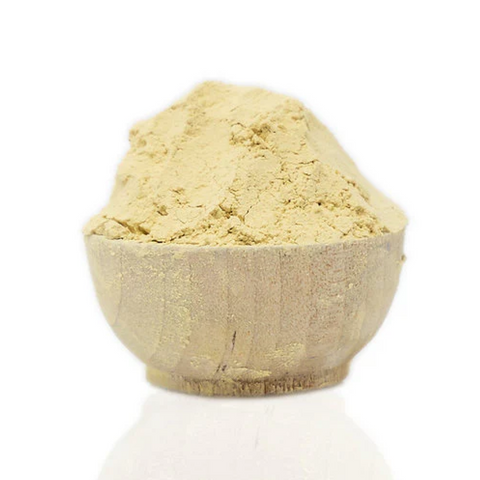
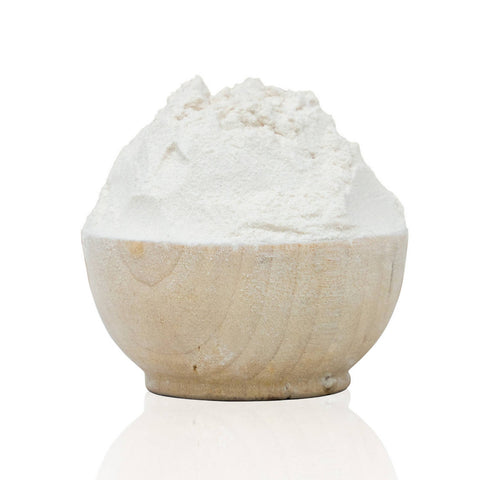
For creating cracked marbled effects, ordinary wheat flour works surprisingly well.
It is inexpensive, biodegradable, easy to mix, and develops beautiful natural cracks as it dries. Those cracks become tiny channels that guide the indigo into the fabric, creating the distinctive marbled appearance.
Because the cracks form naturally, no two pieces are ever identical.
Choosing Your Fabric
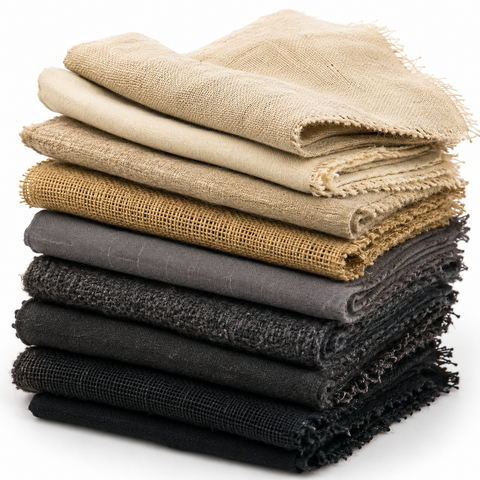
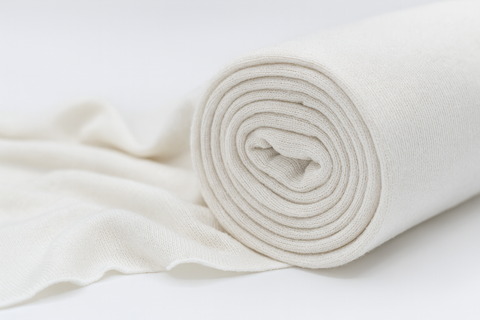
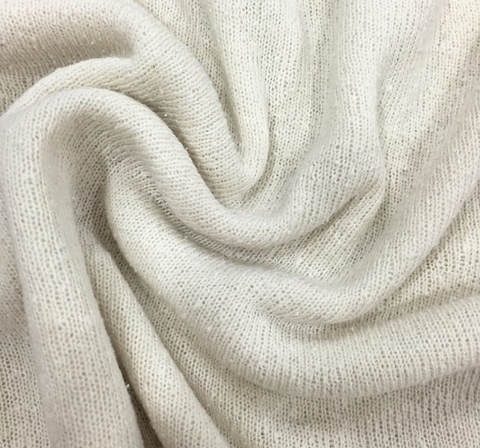
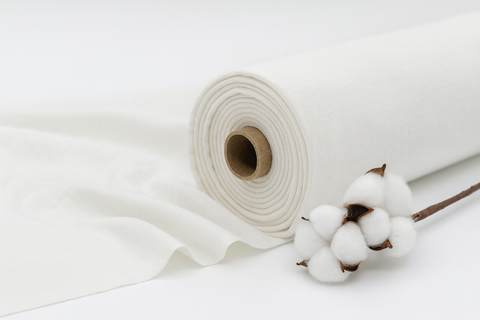
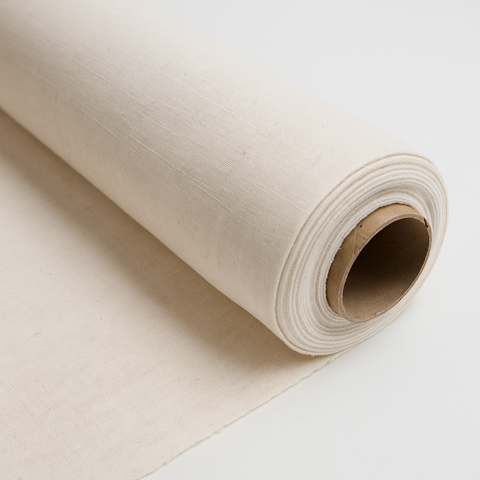
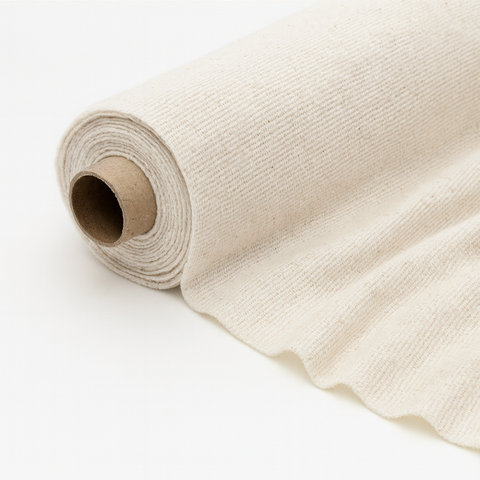
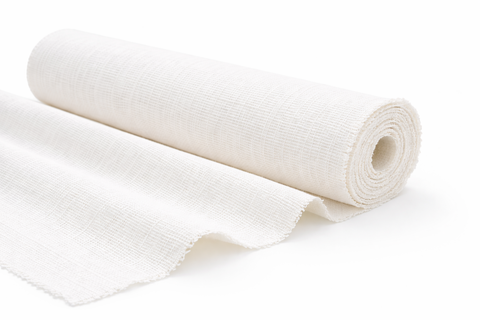
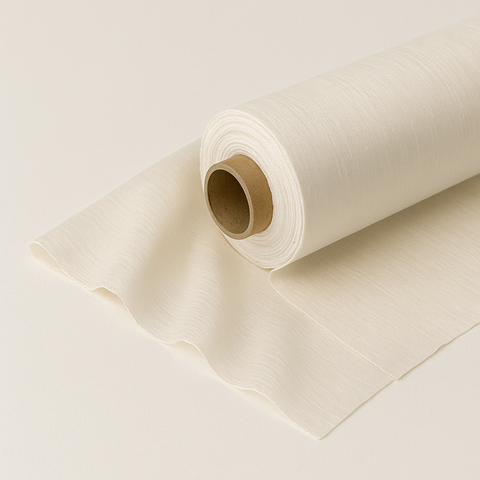
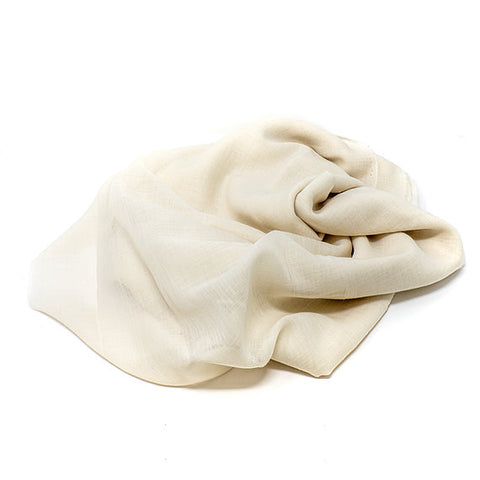
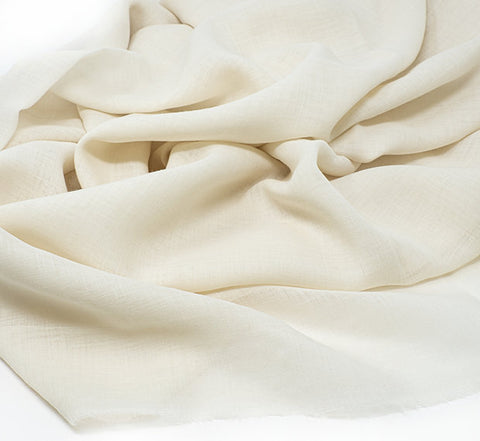
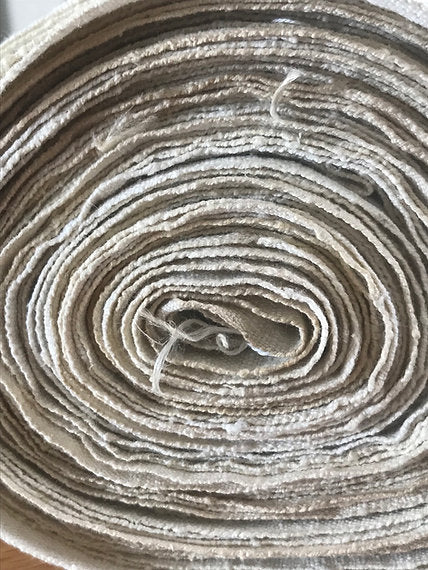
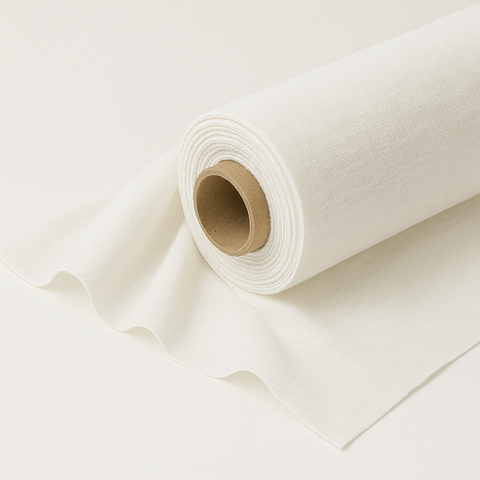
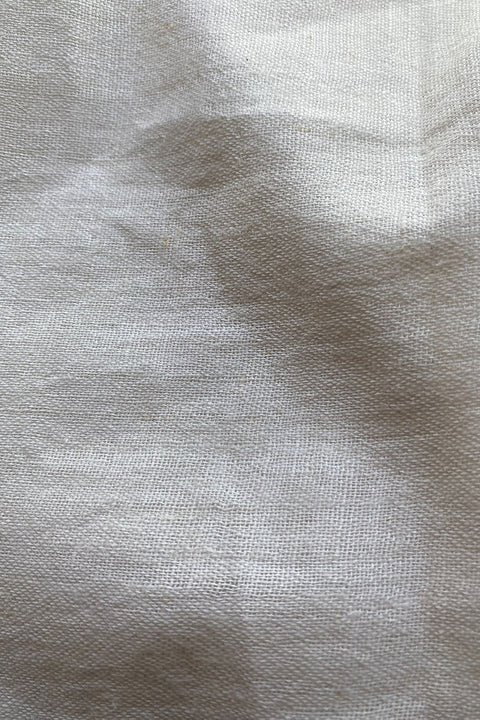
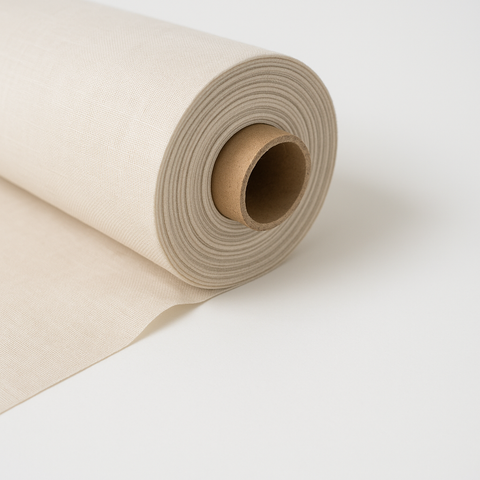
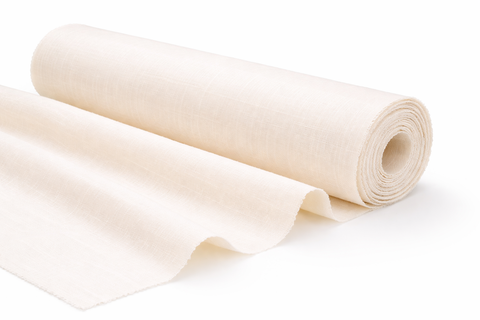
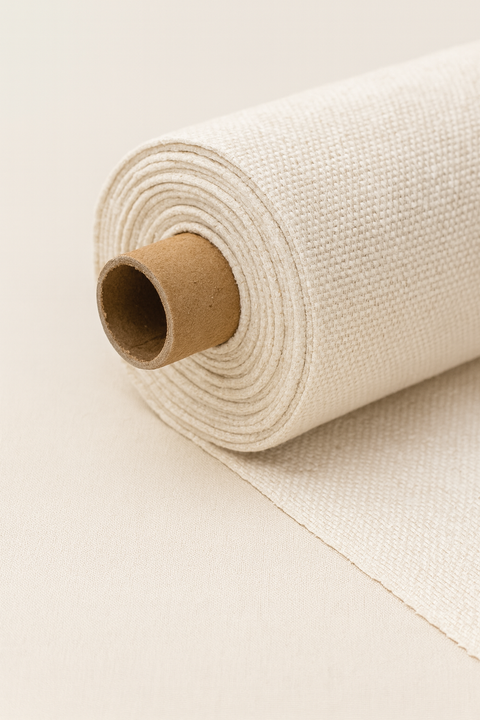
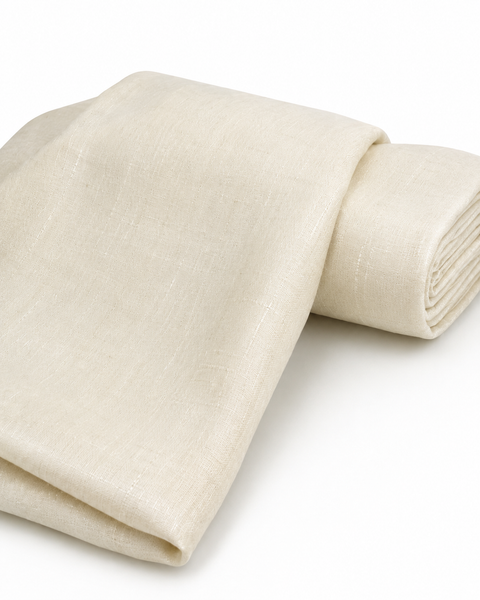
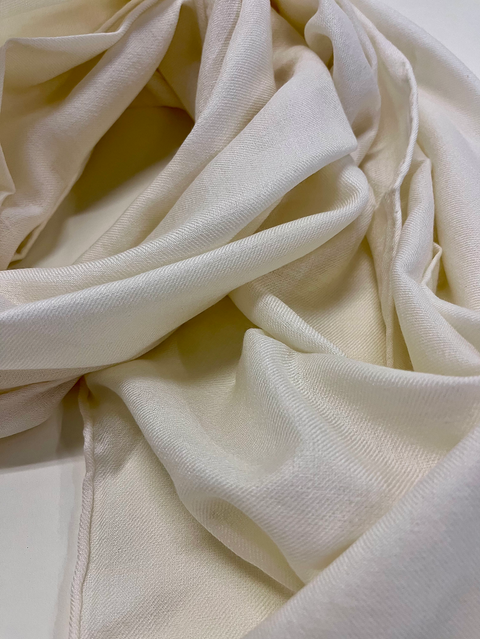
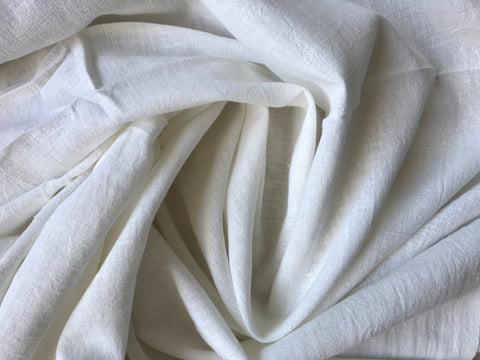
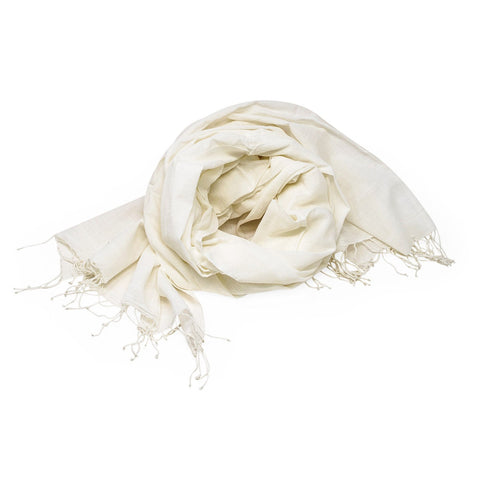
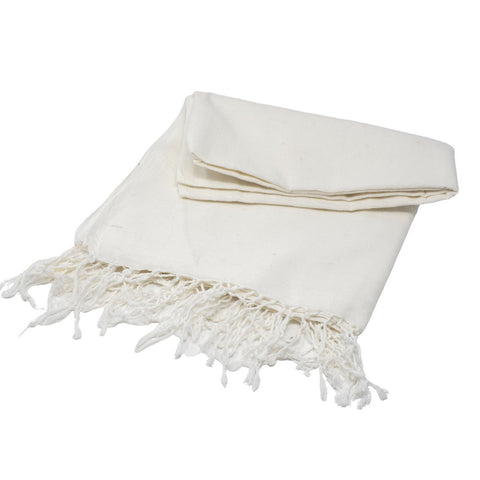
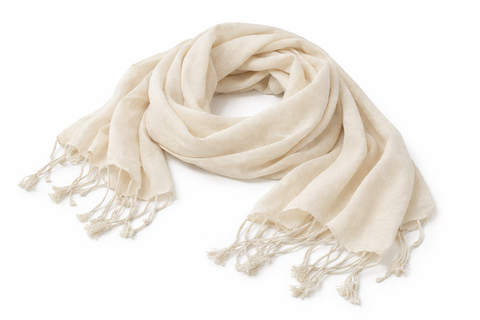
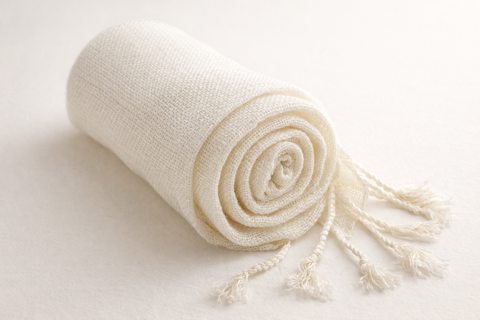
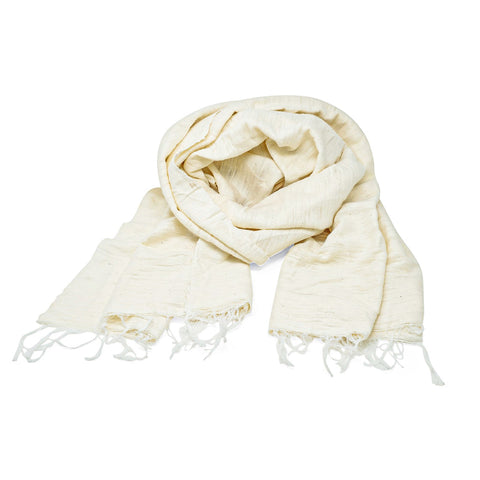
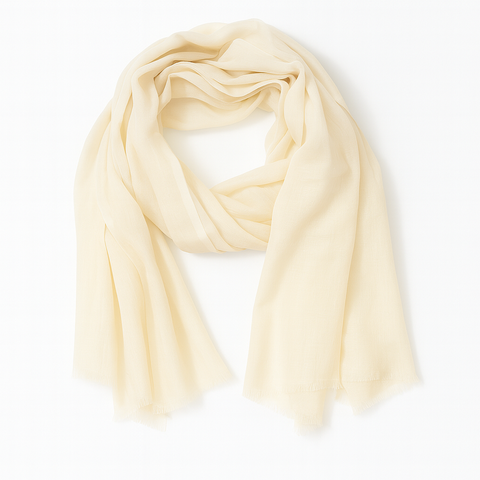
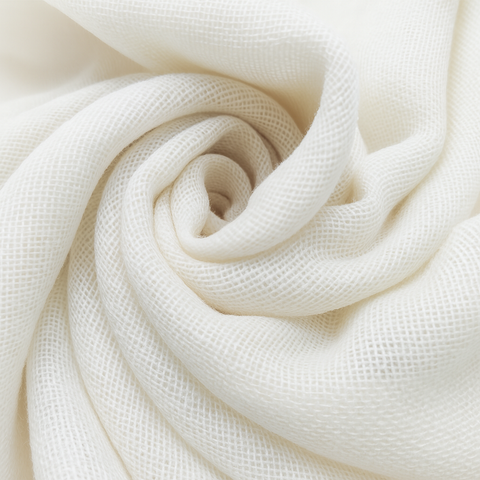
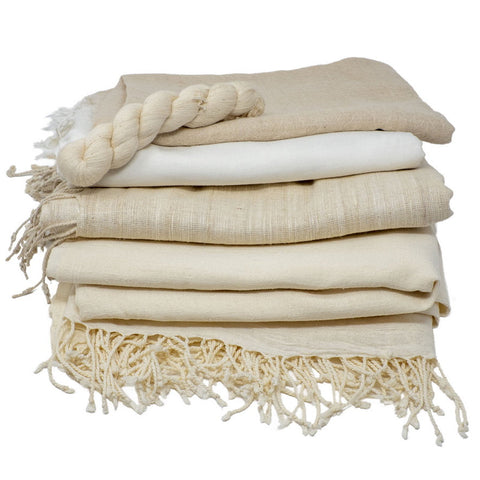
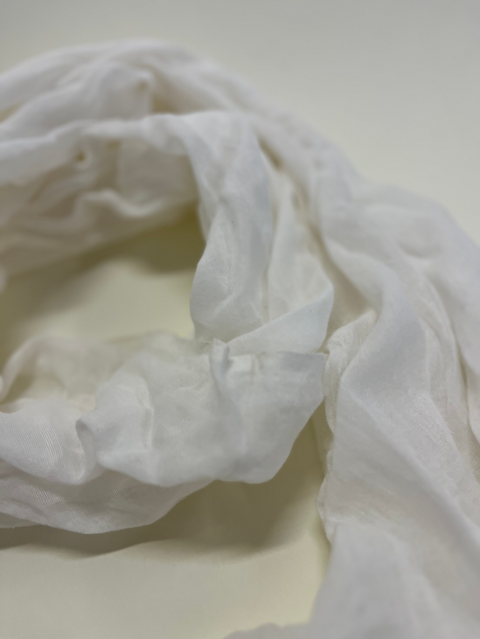
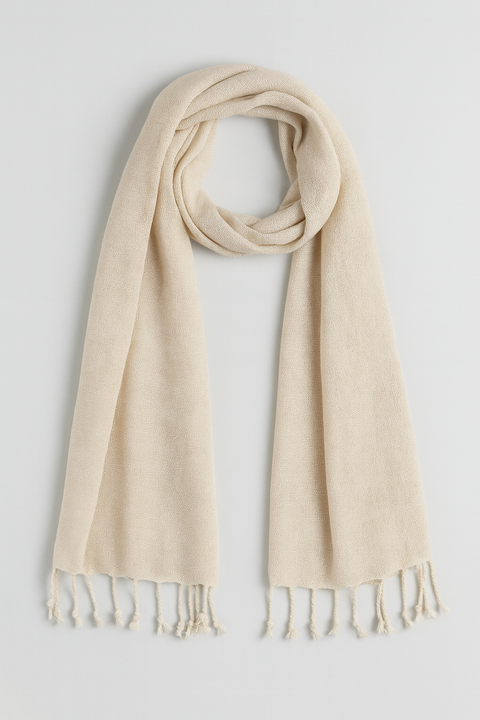
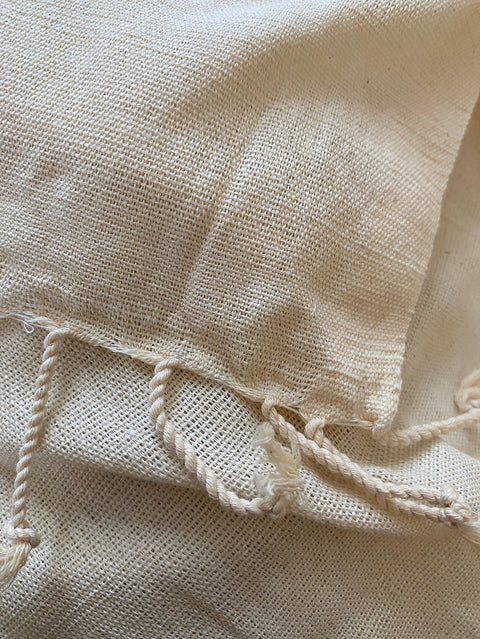
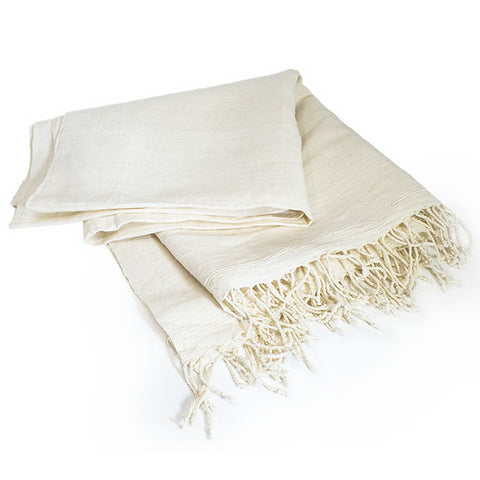
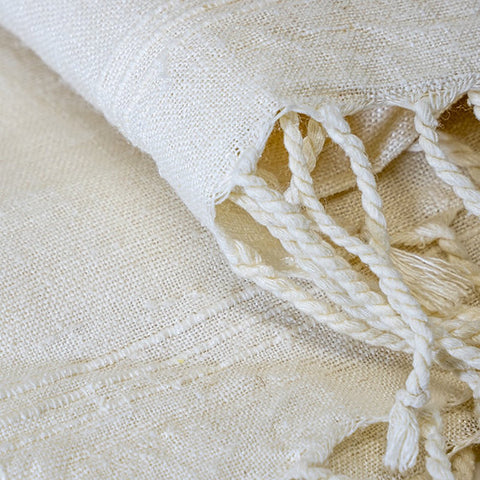
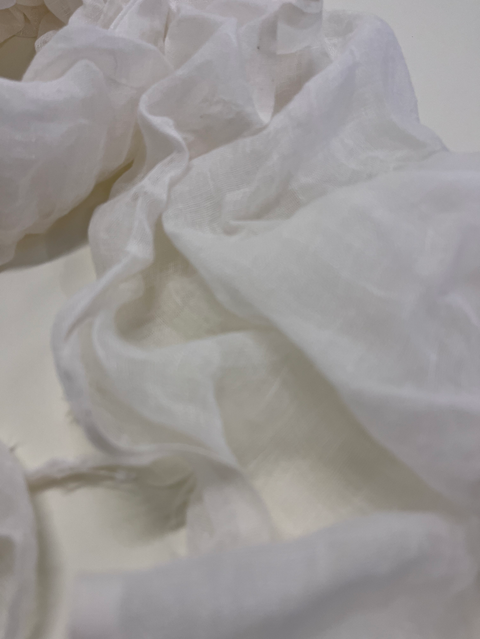
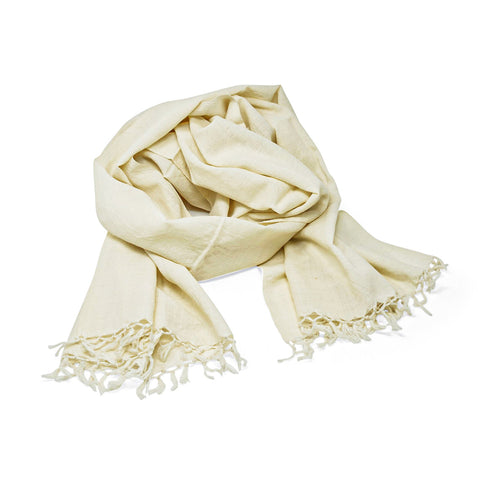
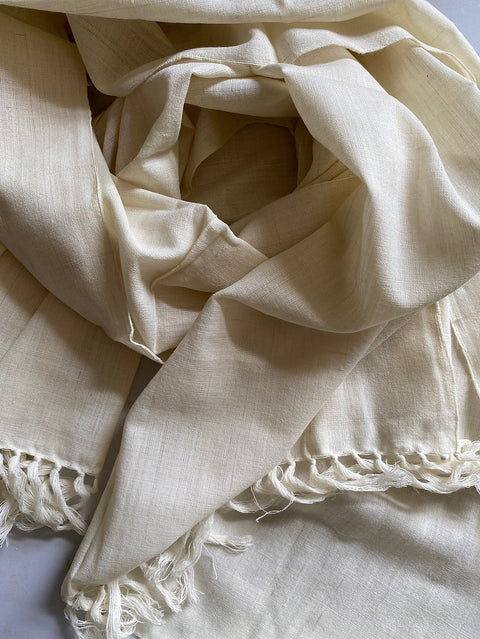
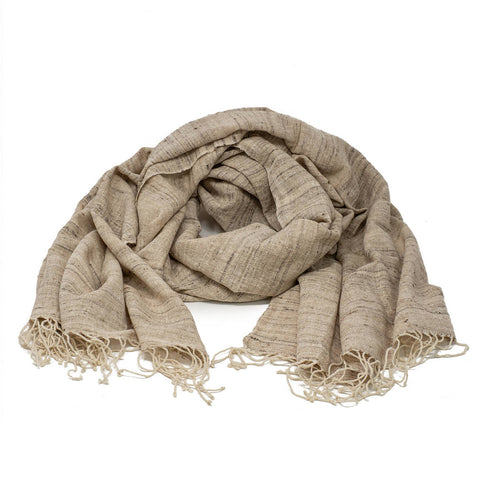
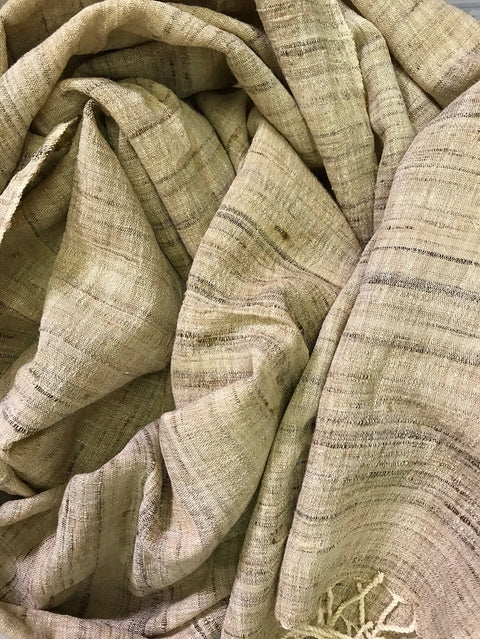
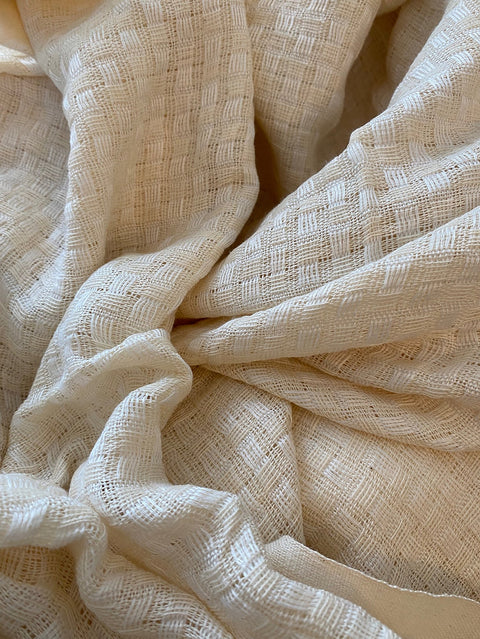
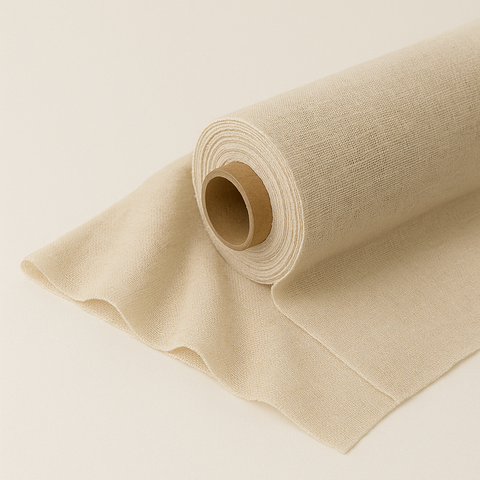
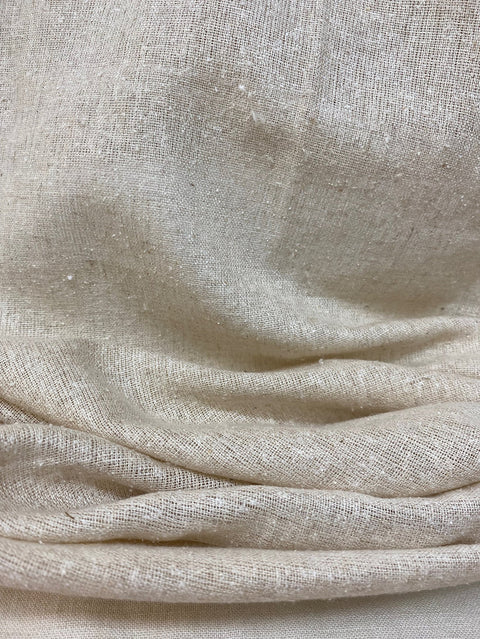
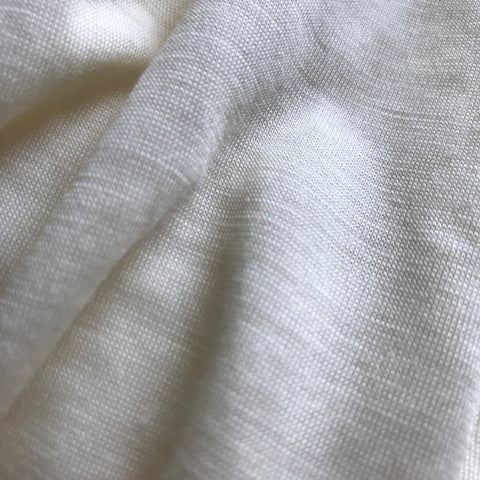
This tutorial is intended for natural fibers, particularly cotton.
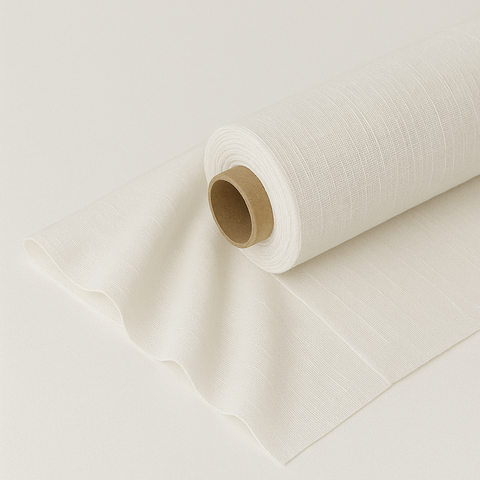
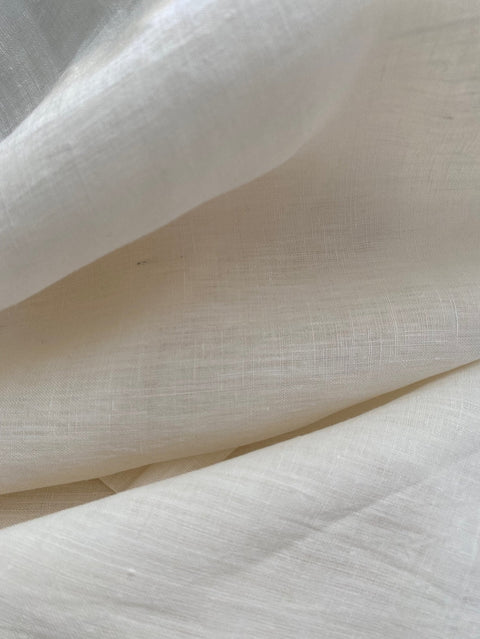
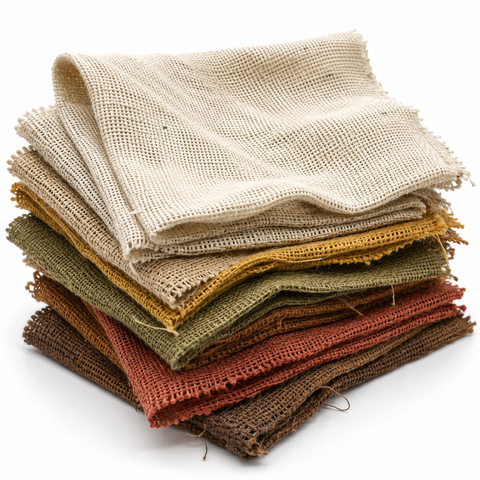
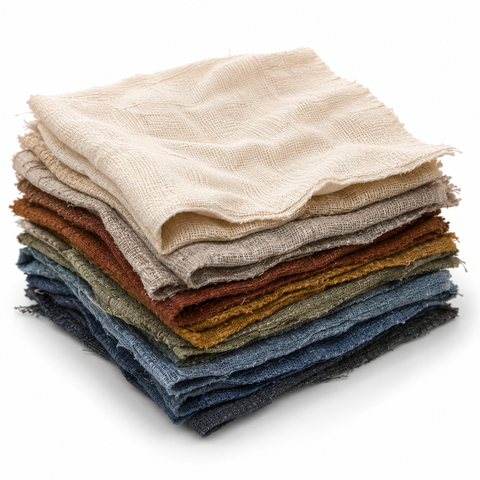
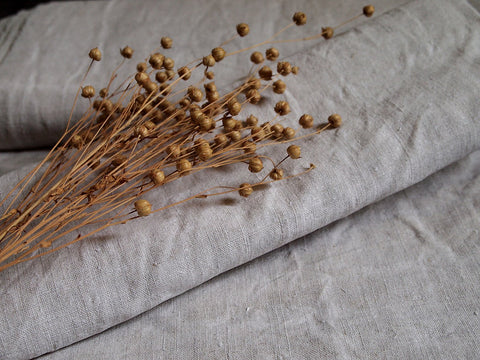
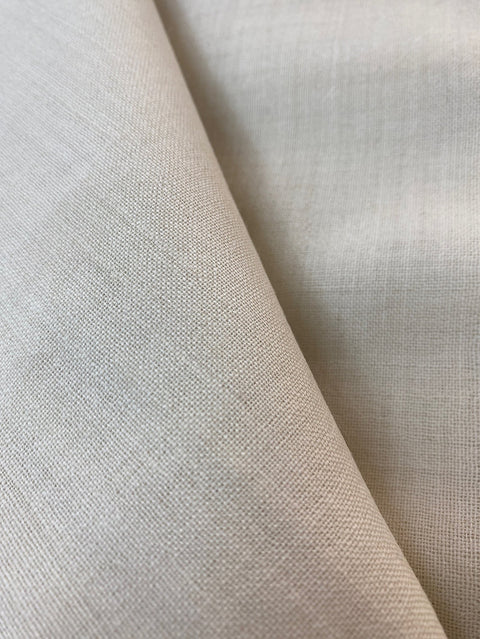
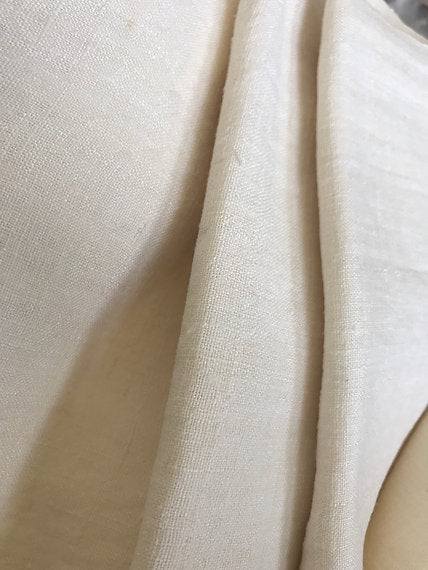
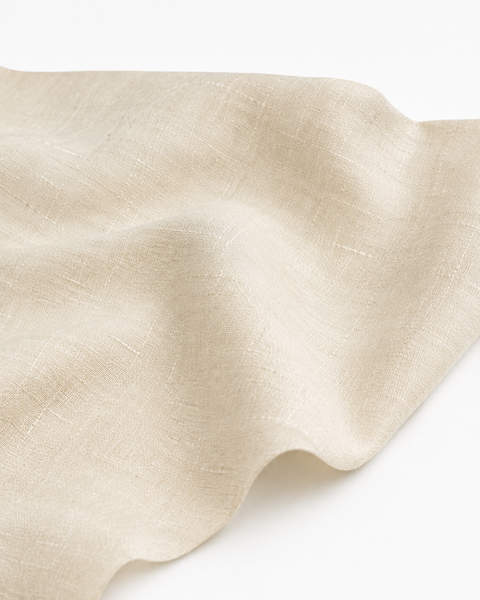
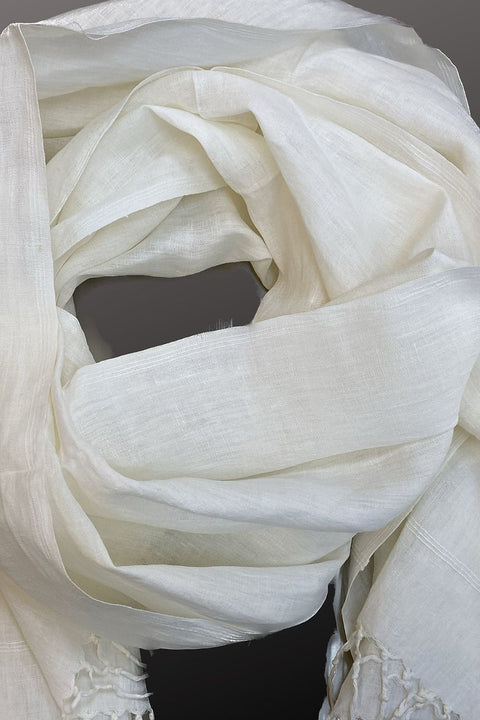
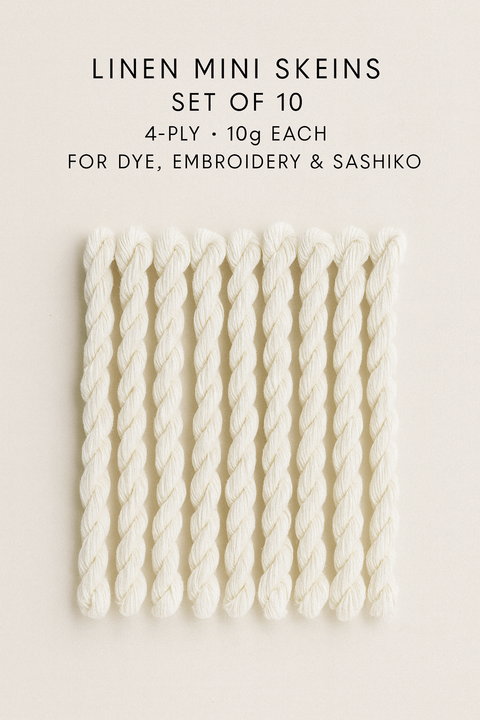
You can also experiment with linen and hemp, although the texture of the fabric will slightly influence how the cracks develop.
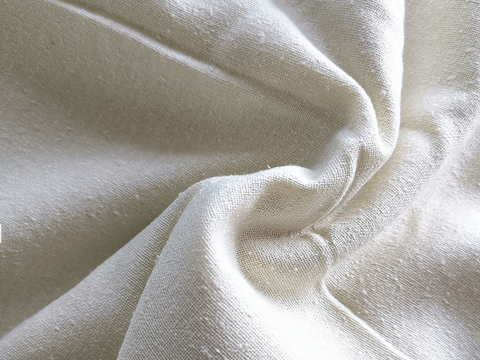
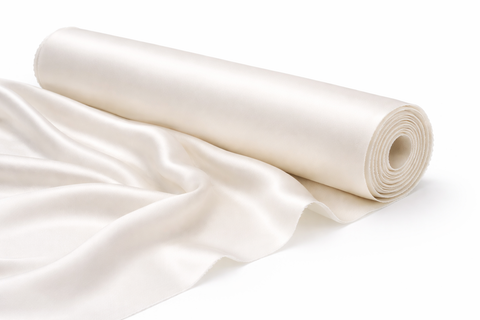
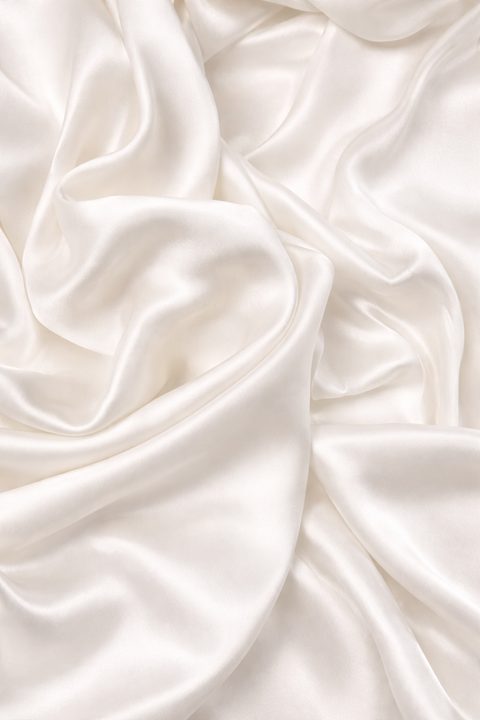
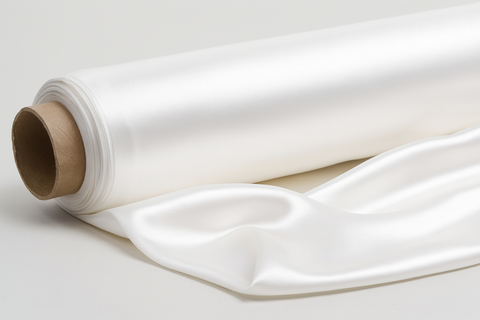
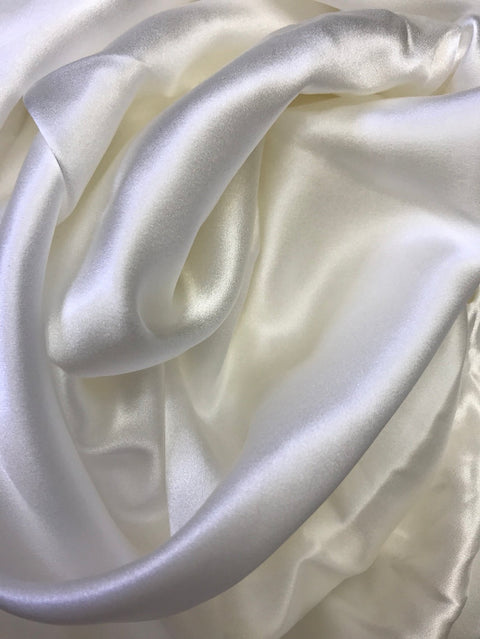
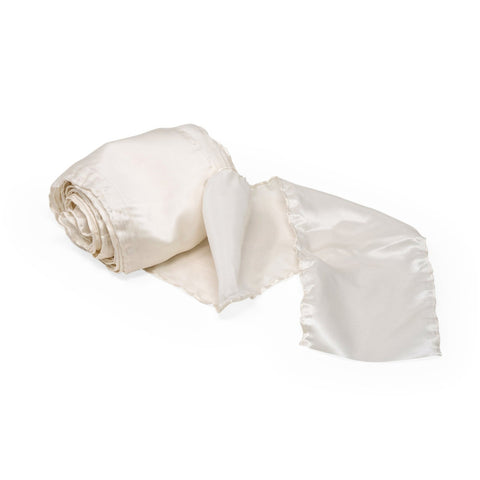
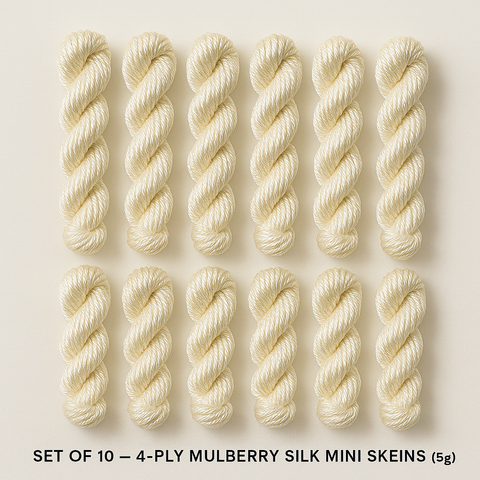
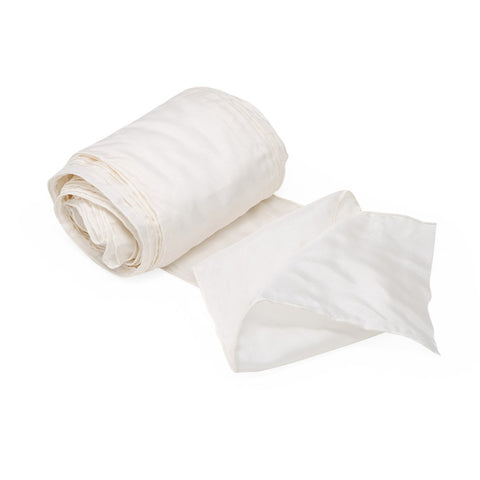
Silk can also produce beautiful results, but because it is a much more delicate fiber, it requires considerably gentler handling when cracking the dried resist.
Synthetic fabrics are beyond the scope of this tutorial.
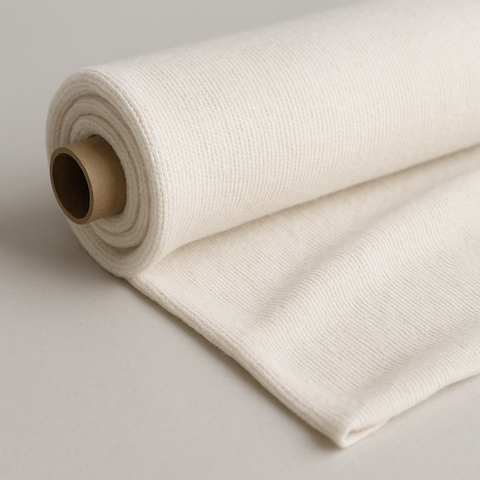
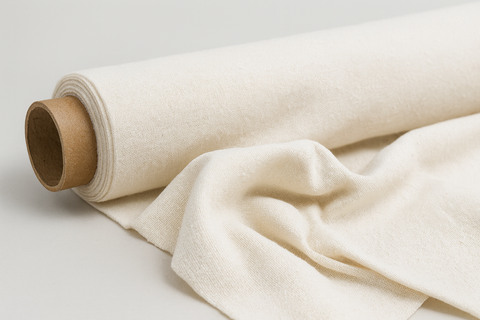
Before beginning, wash or scour your fabric thoroughly so that oils, finishes, or sizing do not interfere with either the resist or the indigo.
Do I Need to Mordant?
No.
Indigo is unlike almost every other natural dye.
Instead of chemically bonding to the fiber with the help of a mordant, indigo becomes temporarily soluble inside a reduced indigo vat. Once exposed to oxygen again, it transforms back into insoluble blue indigo and becomes trapped inside the fiber.
Because of this unique chemistry, no mordant is required.
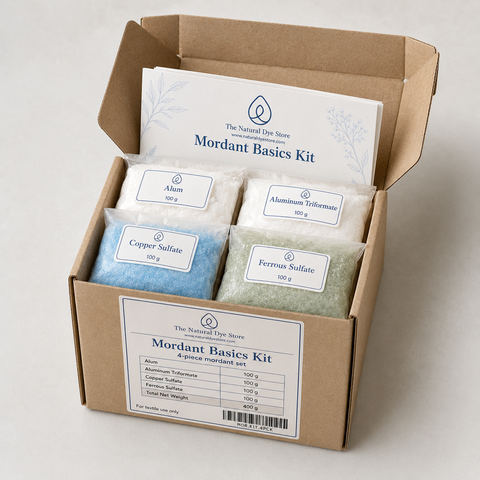
If you wish to use this flour resist technique with other natural dyes, however, you will generally need to mordant your fabric first. That will be covered in a separate tutorial.
Materials
You will need:

- Clean cotton fabric
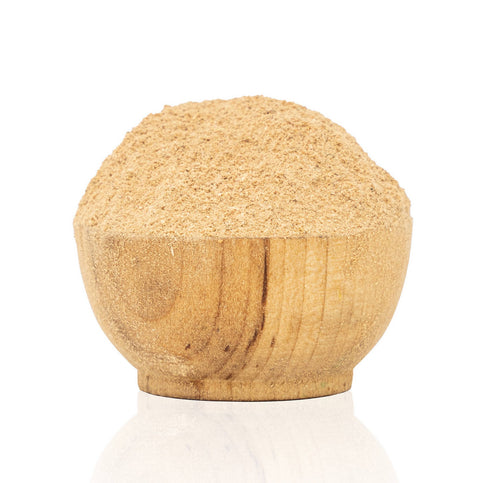
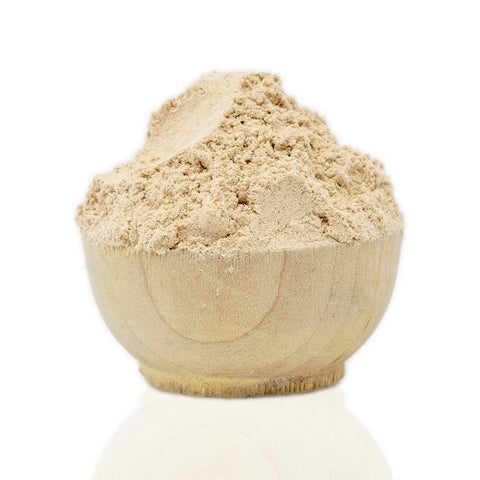
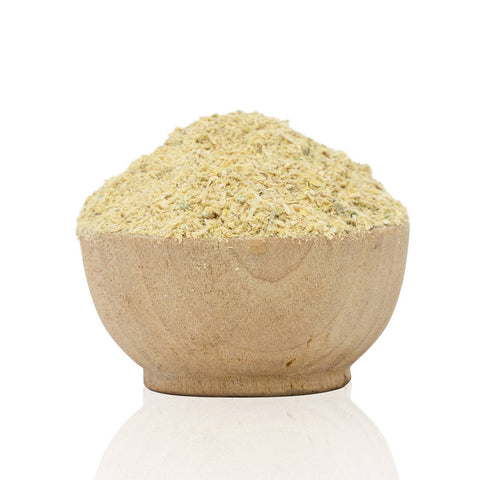
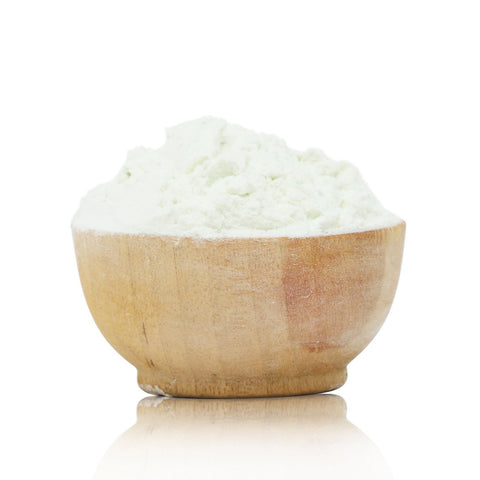
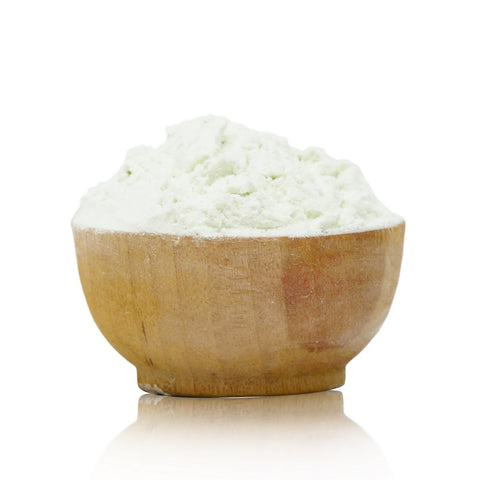
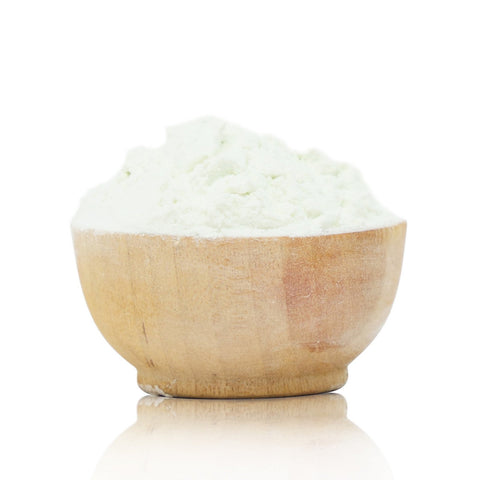
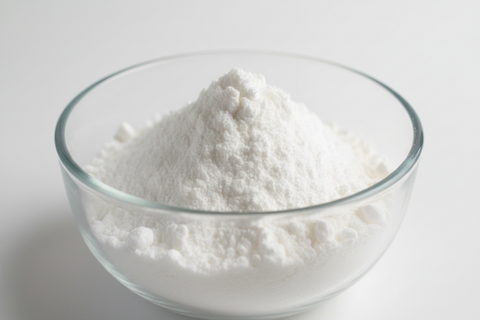
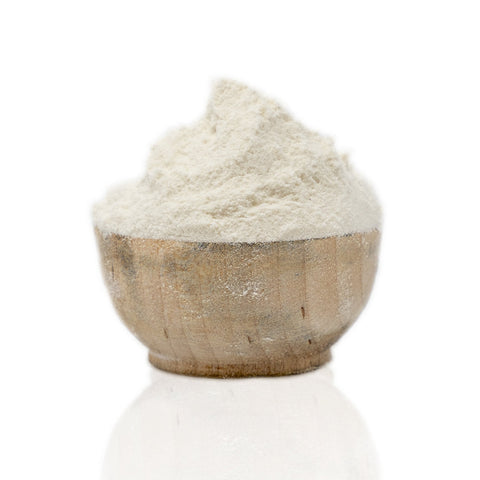
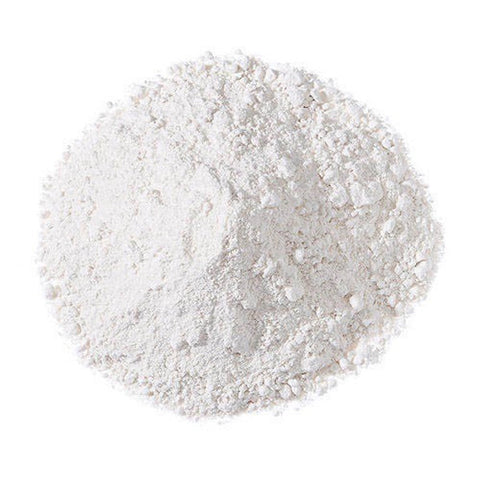
- Plain white flour
- Water
- Mixing bowl
- Spoon or whisk
- Paintbrush
- Drying rack or clothesline
- Reduced indigo solution
- Gloves
- Dust mask when handling sodium hydrosulfite
- Plastic sheet or baking paper (for garments with two layers)
Making the Flour Resist
For approximately one medium-sized garment or several samples, combine:
- 300 grams plain white flour
- 400 ml water
Whisk until completely smooth.
The mixture should resemble a thick pancake batter. It should spread easily with a brush but not drip excessively.
If it feels too thick, add a small amount of water.
If it feels too thin, add a little more flour.
A smooth mixture produces a much more even resist.
Applying the Resist
Brush the paste generously onto the cotton.
The layer should completely cover the surface without becoming excessively thick.
If you are working on a shirt, dress, or other garment, separate the front and back with baking paper or recycled plastic. Otherwise, the drying paste can glue both layers together.
You may brush in broad strokes, work more freely, or even use your gloved hands to massage the paste into the surface.
Keep in mind that thicker applications take considerably longer to dry.
Let It Dry Completely
This is perhaps the most important step.
Allow the resist to dry naturally until it becomes completely rigid.
Depending on humidity, temperature, and thickness, this usually takes 24 hours or longer.
Do not rush this stage.
If the resist is still flexible, it will not crack properly, and the indigo will not produce the beautiful marbled effect.
The fabric should feel almost board-like before you continue.
Discard any leftover flour paste.
Because it contains only flour and water, it quickly begins to ferment and develops an unpleasant odor.
Creating the Cracks
Now comes the fun part.
Gently bend, fold, twist, and flex the dried fabric.
As the resist fractures, hundreds of tiny cracks appear across the surface.
These cracks determine where the indigo will enter.
Large, widely spaced cracks produce bold dramatic markings.
Fine cracks create delicate marble-like textures.
You can even crack only certain sections of the fabric to create areas of strong pattern alongside untouched white spaces.
There is no correct way to do this.
Experimentation is part of the beauty of the process.
Preparing the Indigo
Instead of immersing the fabric into an indigo vat, I prefer applying freshly reduced indigo directly with a brush.
This gives excellent control and prevents the entire surface from becoming saturated.
Prepare the following mixture:
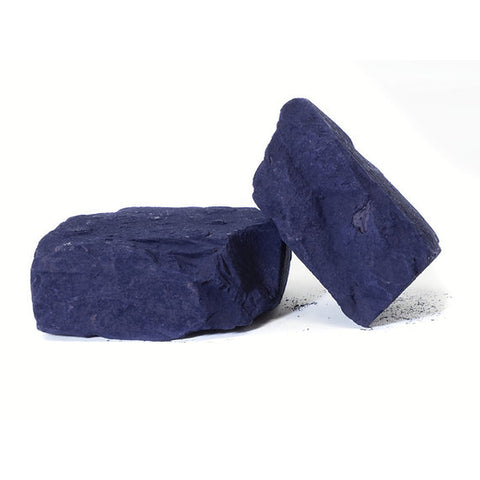
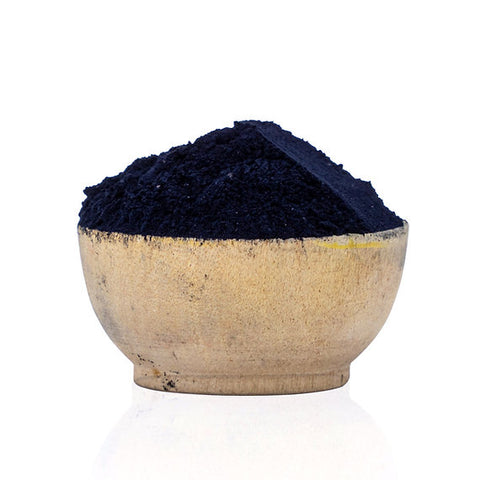
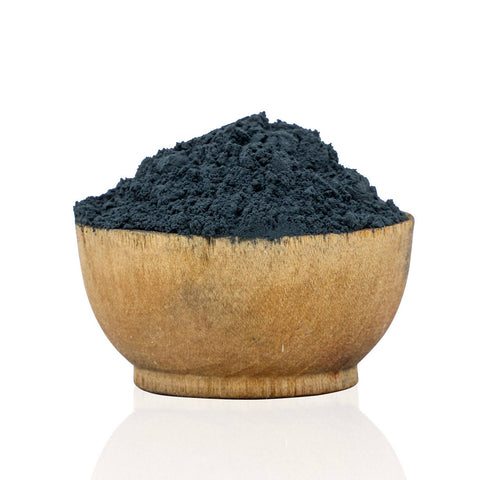
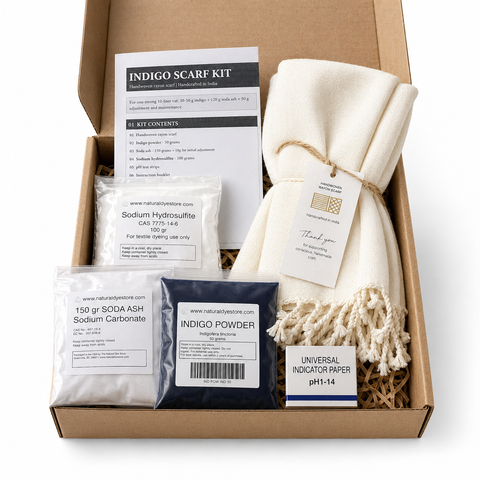
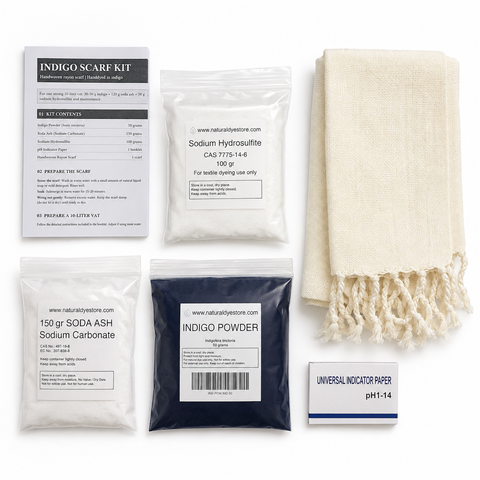
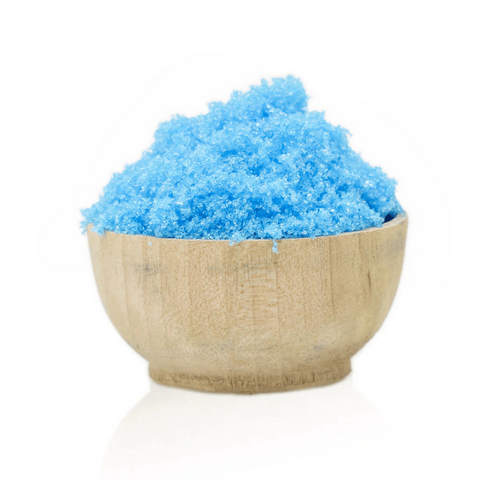
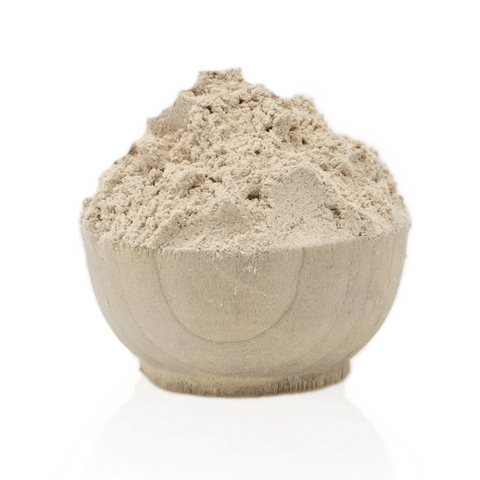
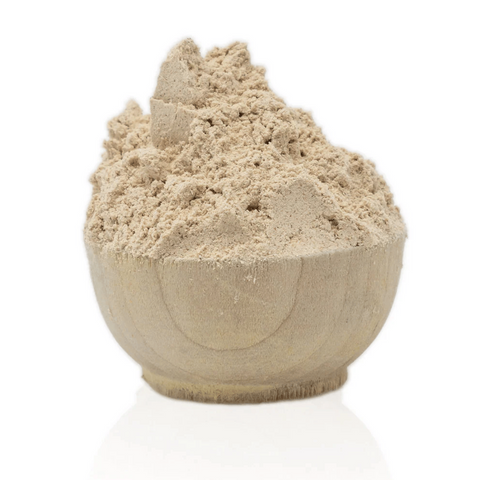
- 10 grams indigo powder
- 100 ml hot water
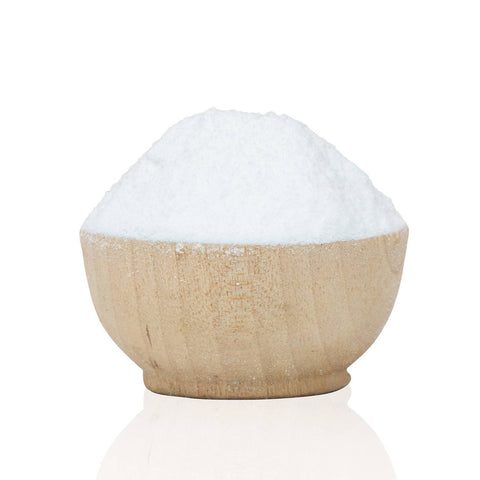
- 20 grams soda ash
Mix thoroughly until completely smooth.
Then add:
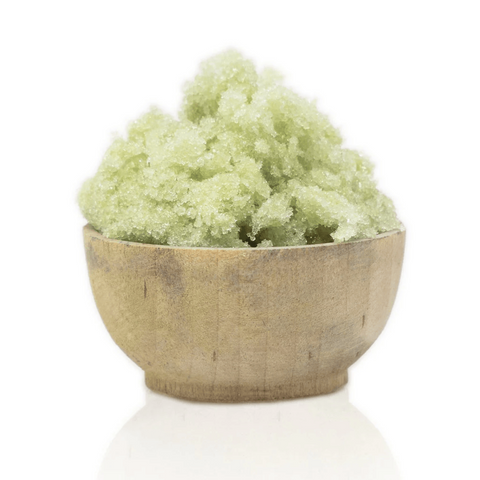
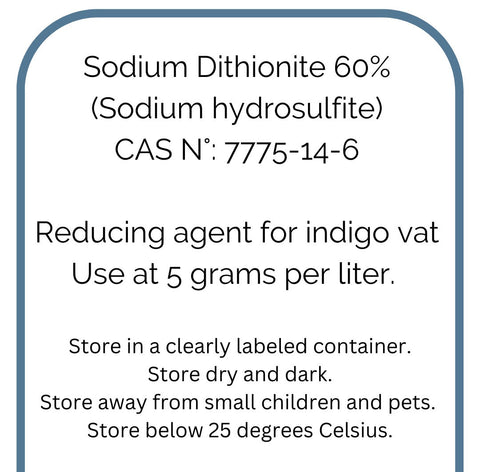
- 10 grams sodium hydrosulfite
Wear gloves and avoid inhaling the powder.
Mix gently and allow the solution to rest for approximately fifteen minutes.
As the indigo becomes reduced, the liquid should change from blue to a yellow-green color.
That green color tells you the indigo is ready to use.
Applying the Indigo
Using a brush, apply the reduced indigo over the cracked resist.
The indigo naturally flows into the tiny fractures while the flour paste protects the surrounding fabric.
Try not to flood the surface.
The goal is to color the cracks rather than soak through the entire resist layer.
If too much liquid is applied, the resist may soften and lose definition.
Allow the fabric to dry completely.
As oxygen reaches the indigo, you will watch it transform from green back to its familiar rich blue.
This oxidation is one of the small miracles of natural dyeing.
Removing the Resist
Once everything is completely dry, gently scrape or flex away as much of the dried flour as possible.
Rinse the fabric thoroughly in cold water.
A small splash of vinegar in the rinse water can help neutralize any remaining alkalinity from the soda ash, although thorough rinsing is the most important step.
If some starch remains trapped in the fabric, prepare a bucket of cold water with approximately half a cup of wheat bran.
Allow the fabric to soak for several hours before rinsing again.
The natural enzymes in the bran help break down any remaining starch.
Why Does This Technique Work?
The flour itself is not resisting the dye because of any special chemical reaction.
Instead, it creates a physical barrier.
Once dry, the flour forms a hard shell that prevents the reduced indigo from reaching the cotton.
When that shell cracks, tiny openings appear.
Those openings become miniature channels that allow the indigo to penetrate the fiber.
The pattern you see at the end is essentially a map of every crack created in the dried resist.
Troubleshooting
My entire fabric turned blue.
The resist was probably still damp, too thin, or became oversaturated with indigo.
Allow the paste to dry completely and apply the indigo more sparingly.
I didn't get enough cracks.
The resist was likely too flexible.
Allow a longer drying time before cracking the surface.
The paste won't wash out.
Soak the fabric in cold water with wheat bran for several hours before rinsing again.
The pattern is too coarse.
Apply a slightly thinner layer of resist and create more, finer cracks before applying the indigo.
Experiment Further
Once you understand the basic technique, there are many ways to make it your own.
Try creating larger cracked areas alongside untouched white spaces.
Experiment with brushing indigo only onto selected sections of the fabric.
Apply multiple layers of reduced indigo to deepen the blue.
After washing, consider overdyeing with another natural dye to create unexpected color combinations.
Every variation produces a completely different character.
I love this technique because it perfectly balances control and surprise.
You decide where the resist goes, how it cracks, and how much indigo you apply, yet the finished pattern always contains an element of chance. Every piece is impossible to reproduce exactly, making each one genuinely unique.
Sometimes the simplest materials produce the most beautiful results.
A little flour, a little water, and the remarkable chemistry of indigo are all it takes to transform an ordinary piece of cotton into something that looks as though it has weathered decades of history.
If you try this technique, I'd love to see what you create. Tag me on Instagram or share your results in our community of natural dyers. Every maker discovers something slightly different, and that's one of the joys of working with natural dyes.
0 comments