


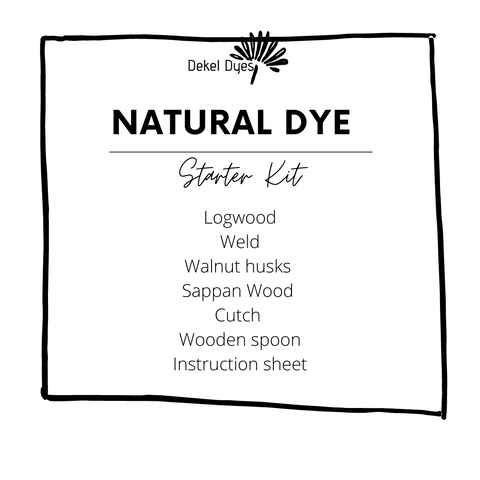


SETTING UP YOUR FIRST INDIGO VAT

Making an indigo vat can seem like a daunting task, but trust me, once you have done it once, you will find yourself doing it much more often. In this tutorial, I will walk you through setting up a simple hydros indigo vat using indigo, hydros, soda ash, and a little patience.
WHAT DO WE NEED?
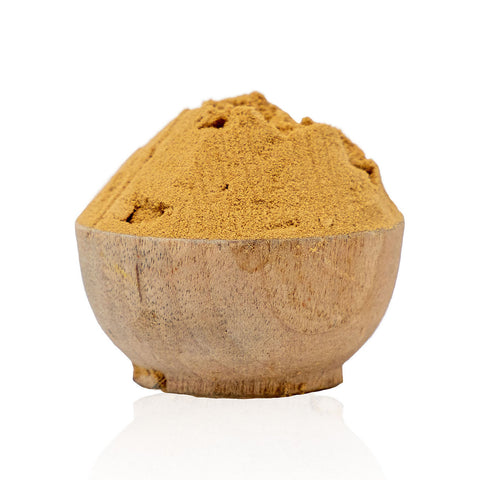
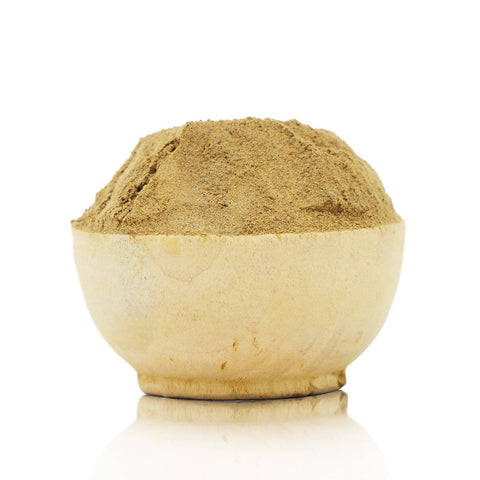
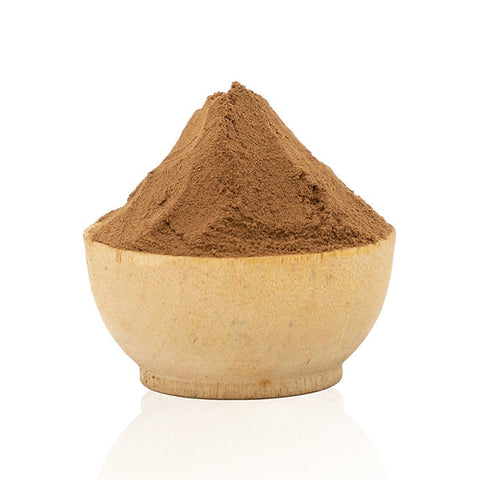
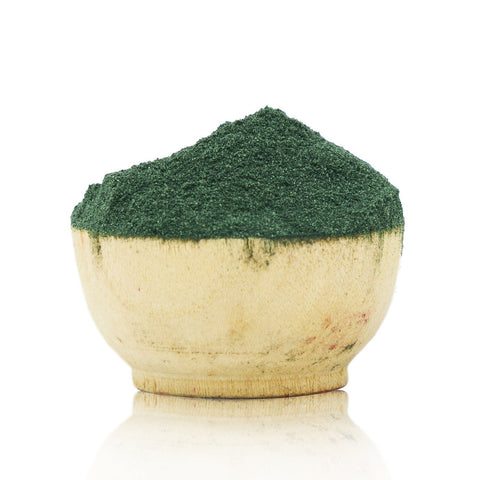
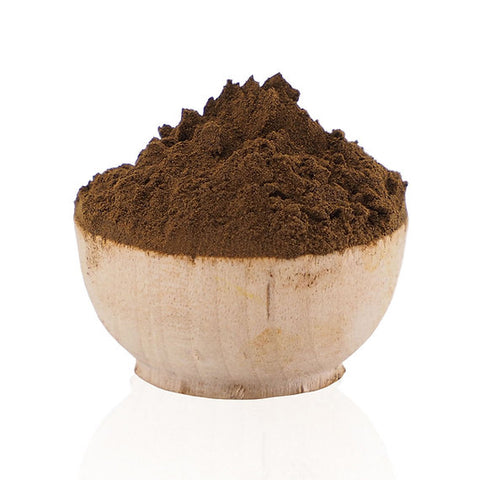
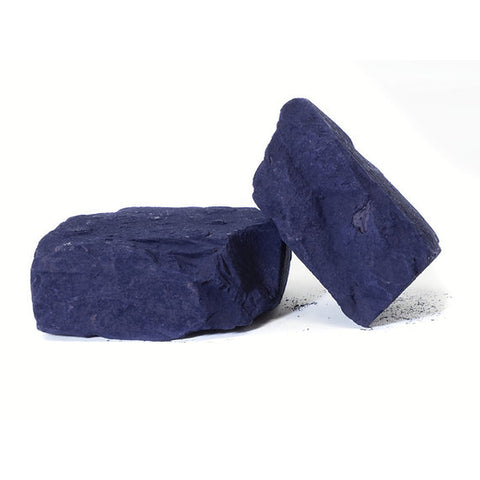
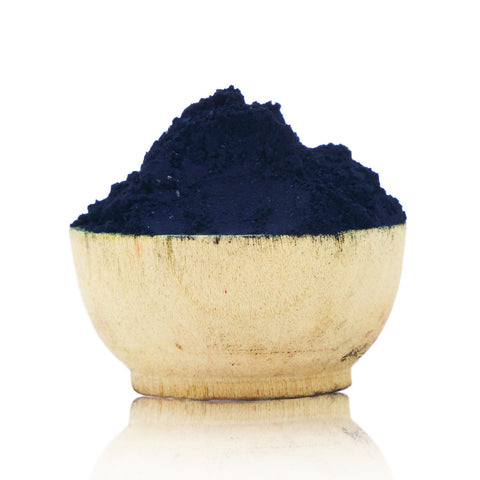
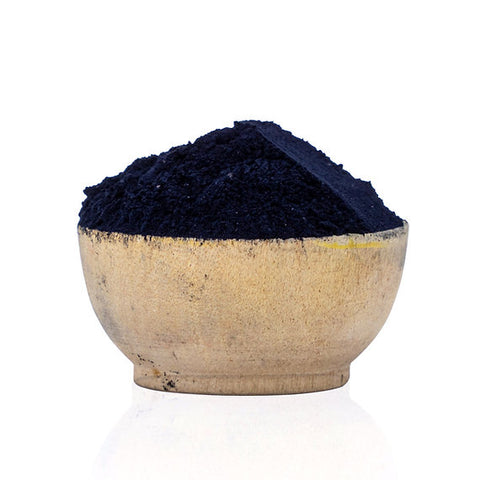
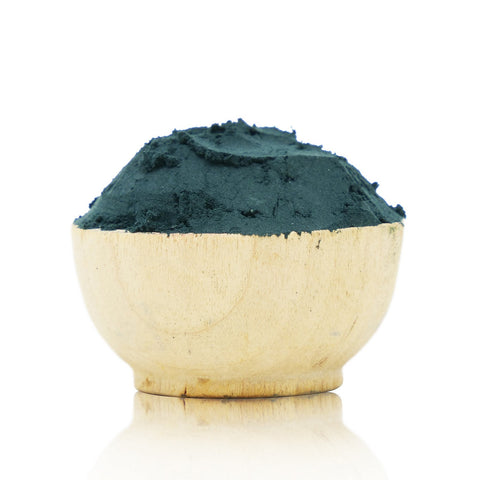
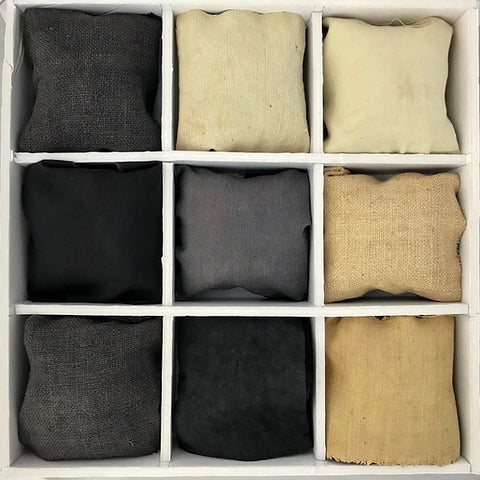
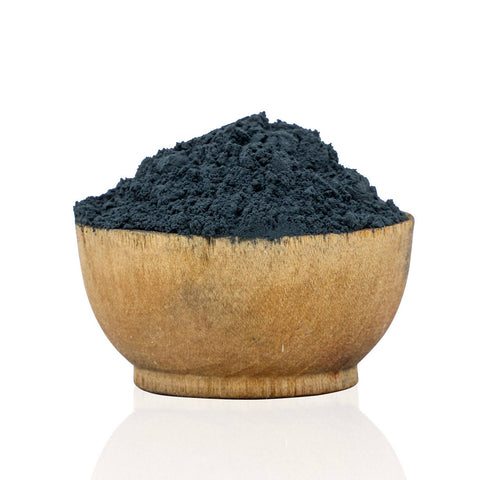
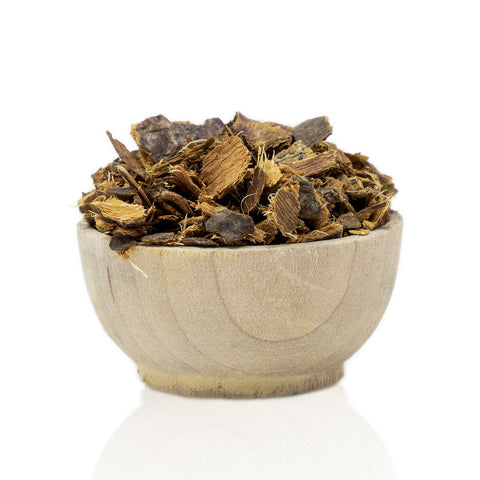
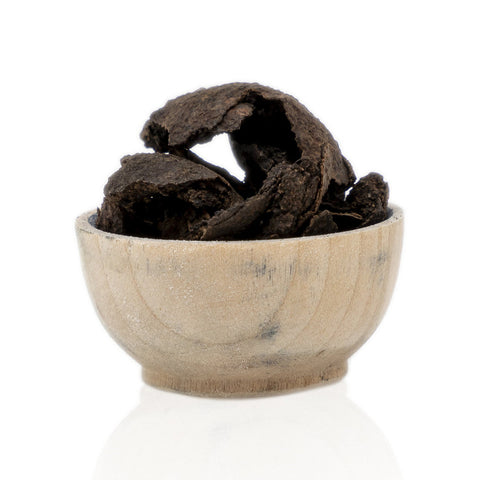
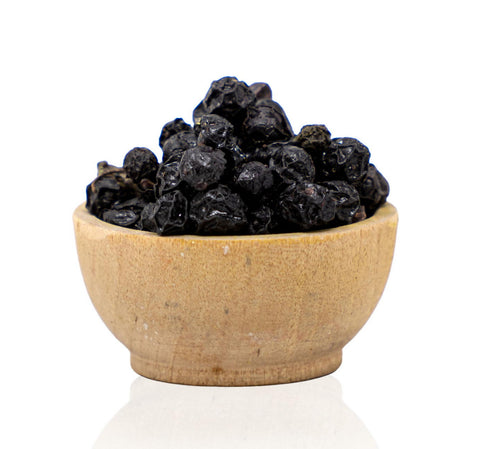
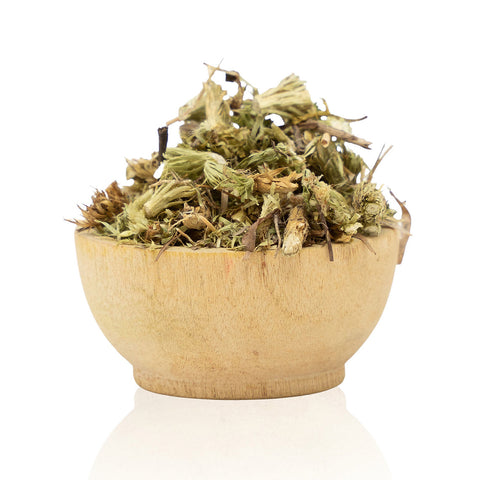
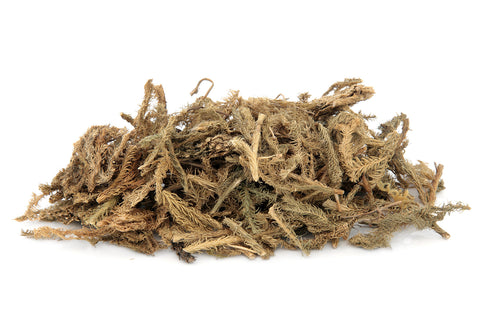
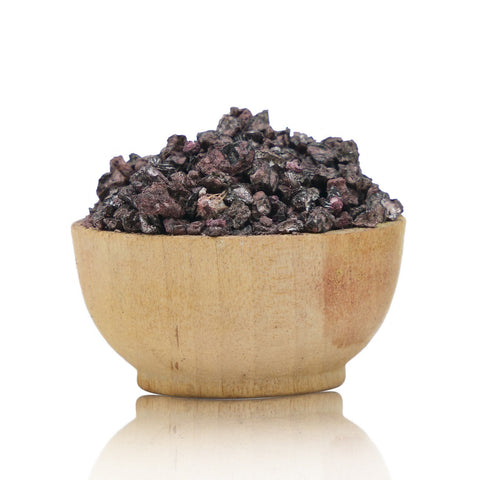
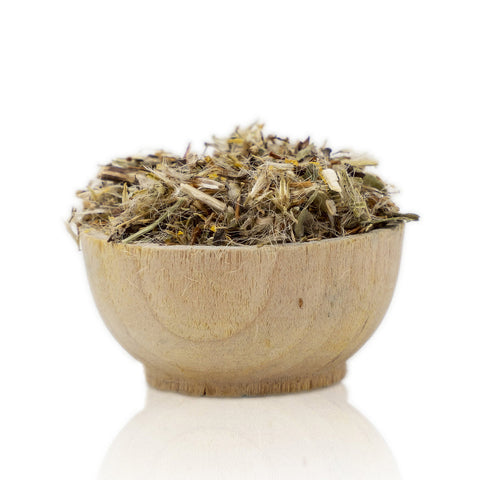
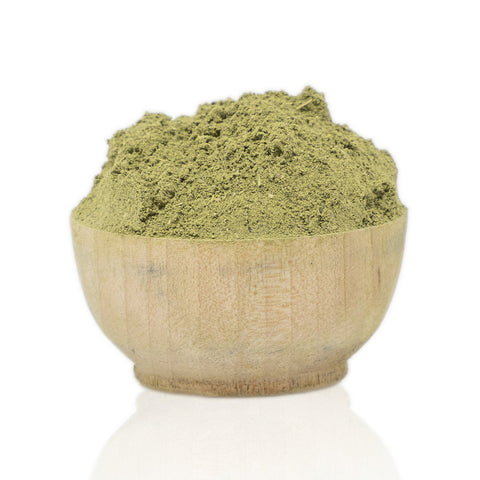
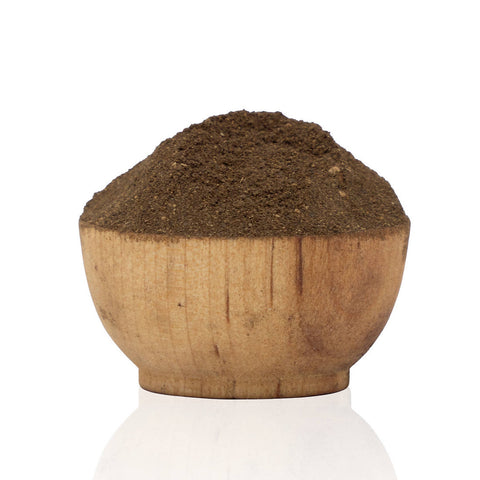
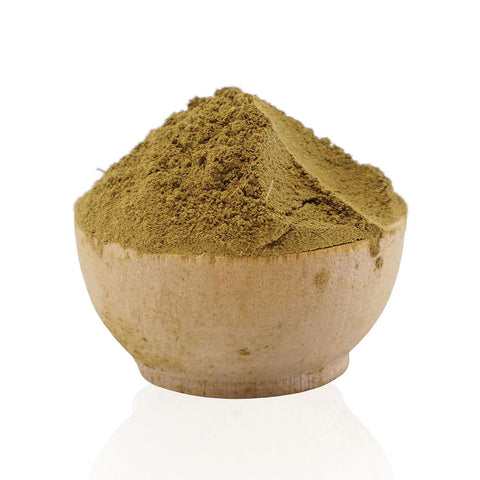
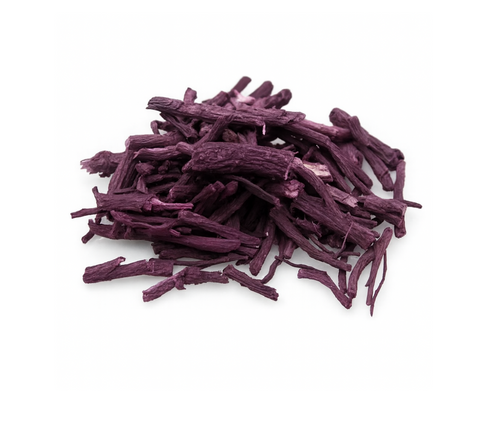
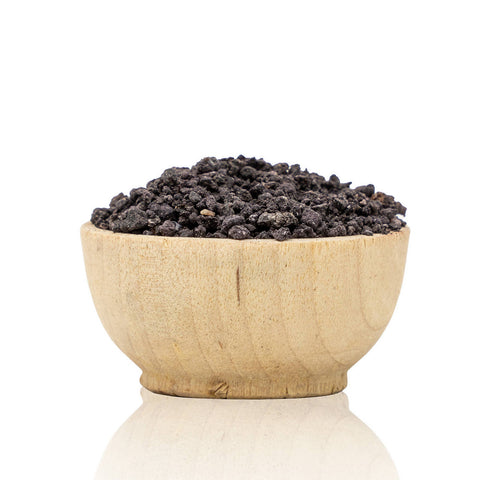
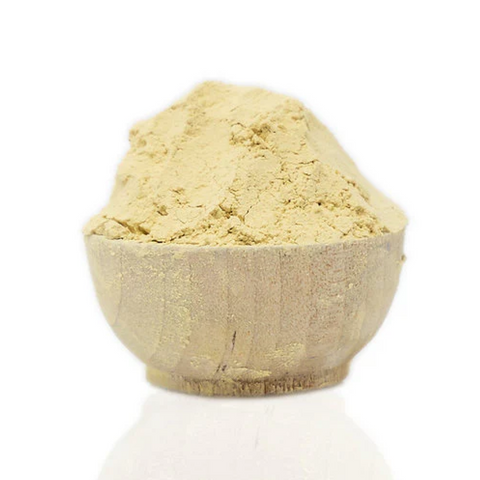
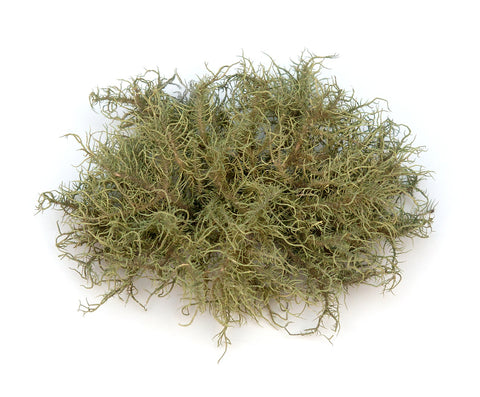
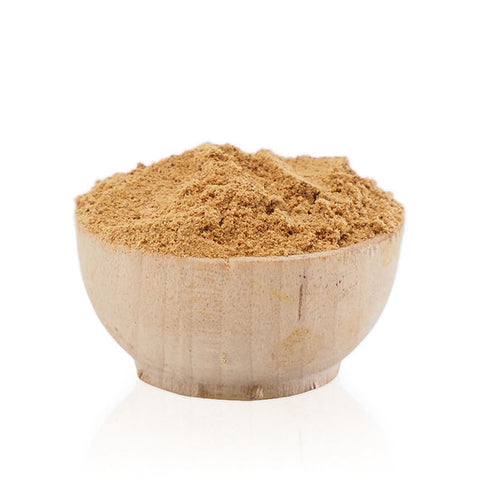
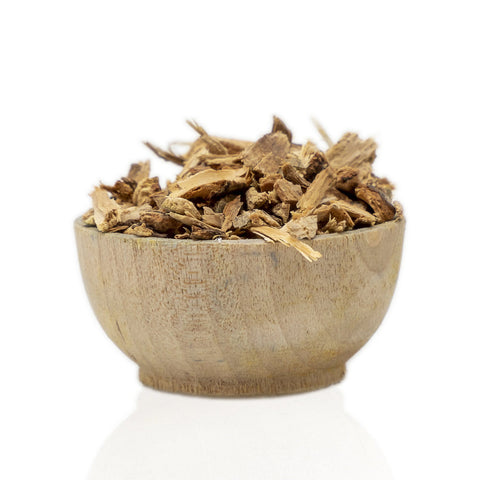
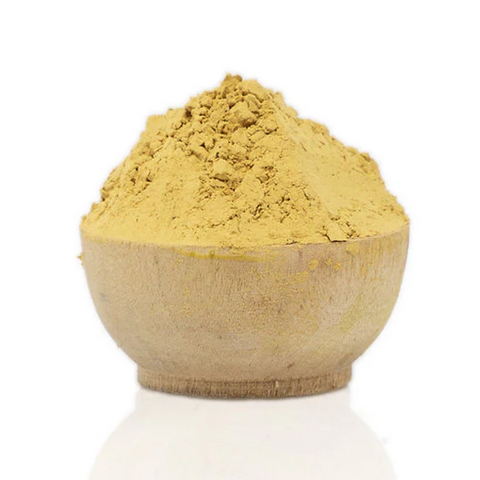
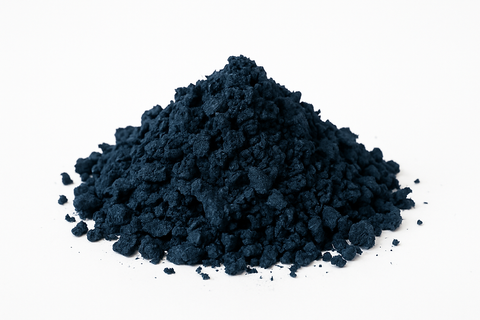
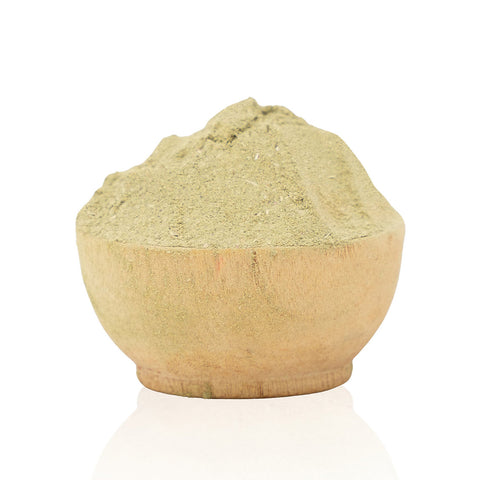
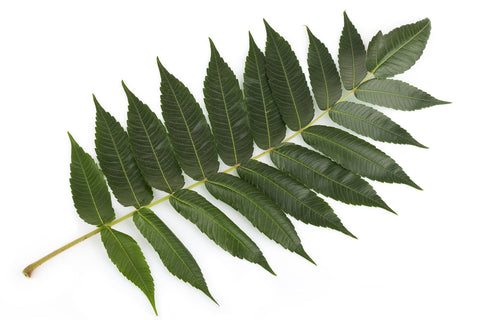
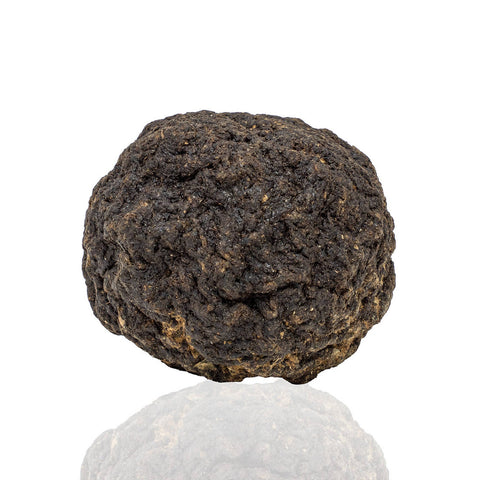
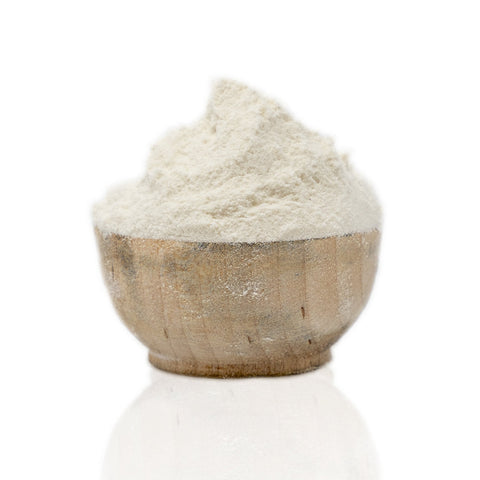
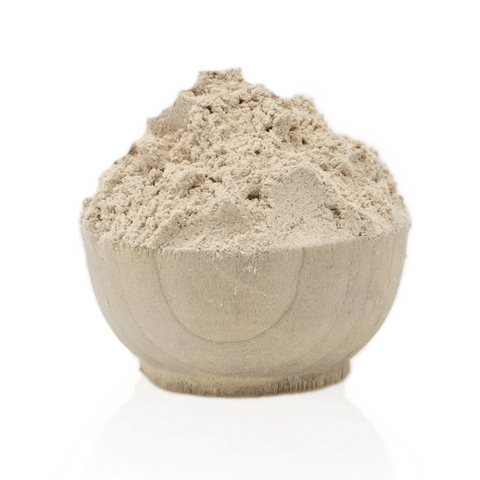
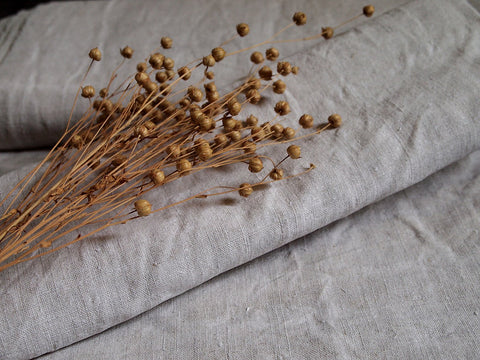
First of all you will need Indigo powder. Most of the available indigo is produced from Indigofera Tinctoria. Other species are Indigofera suffruticosa which is native to the tropical and sub tropical Americas, and Persicaria tinctoria (Japanese Indigo) which grows well in Asian countries and Eastern Europe. You will need something that will remove the oxygen from the water, in order to make the active dye component Indigotin soluble in the water. For organic vats you can use henna, dates, fructose, but we are making a vat using Hydrosulphite, which is easy and very stable to use. The third ingredient is soda ash, which makes the water alkaline, a must for the proper reduction of our indigo.
Indigo Vat Ingredients

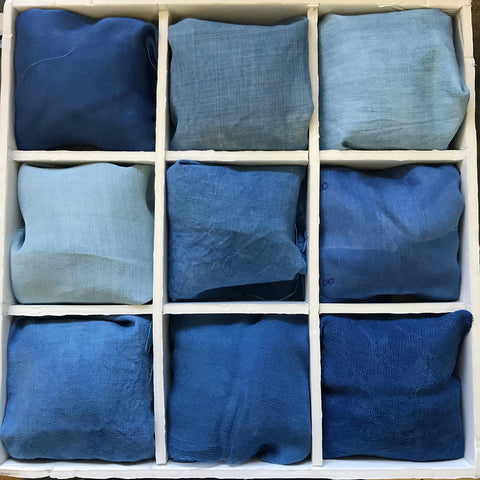
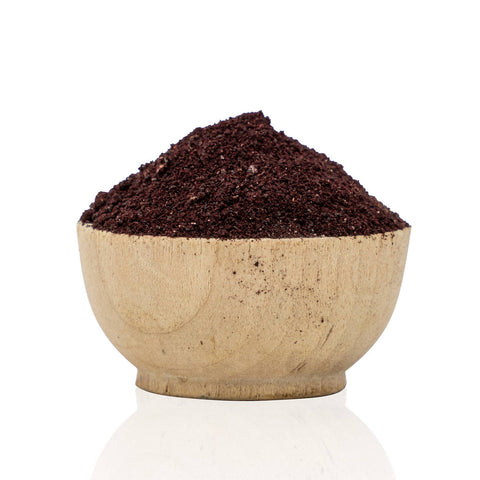
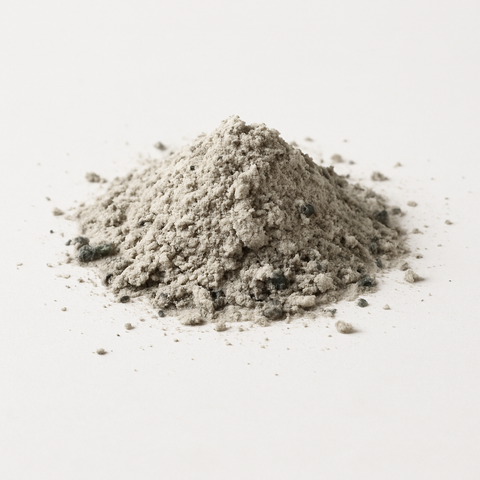
25 grams indigo powder, that is enough to dye a kilo of textile a medium shade of blue.
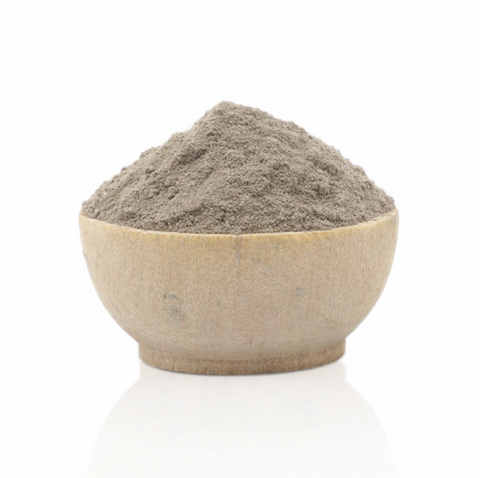
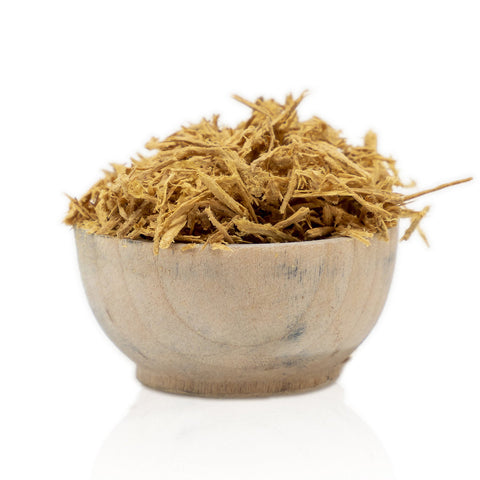
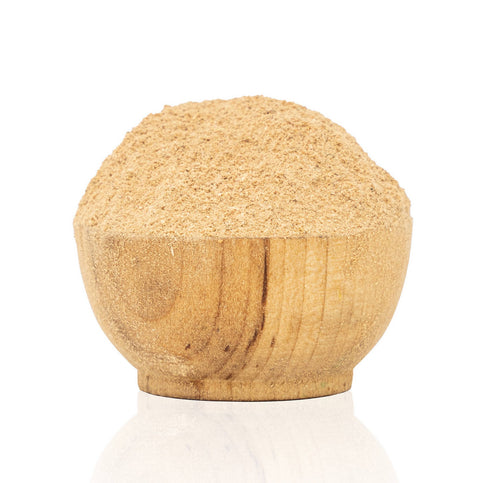
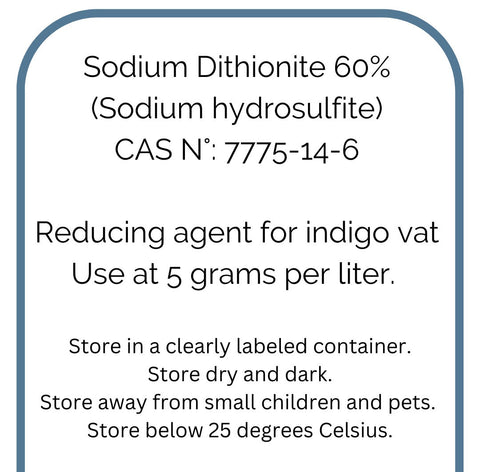
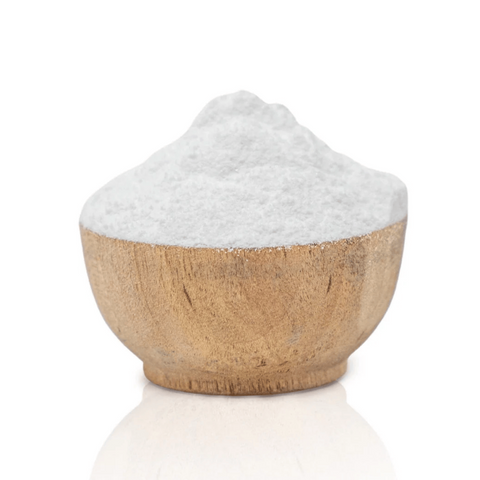
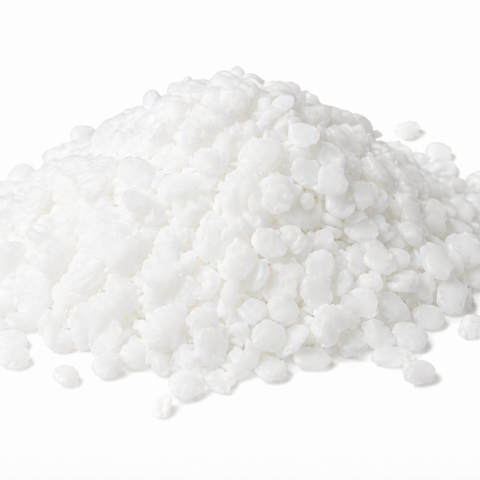
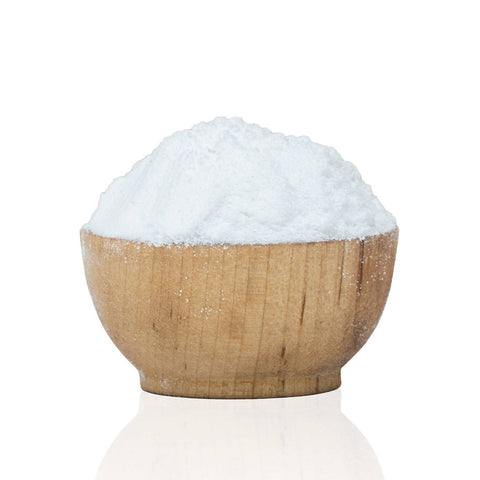
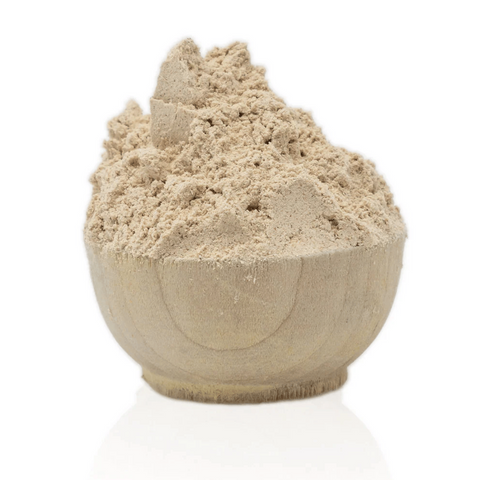
50 grams sodium hydrosulphite
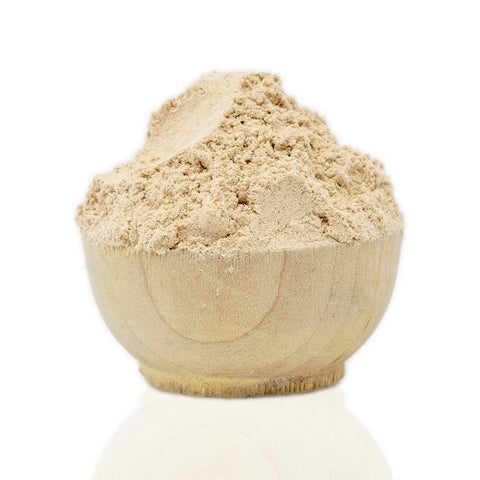
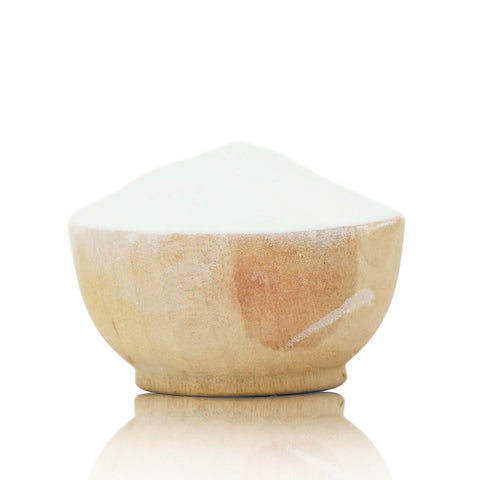
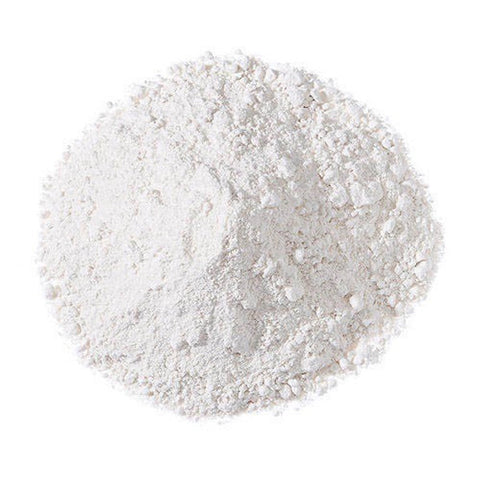
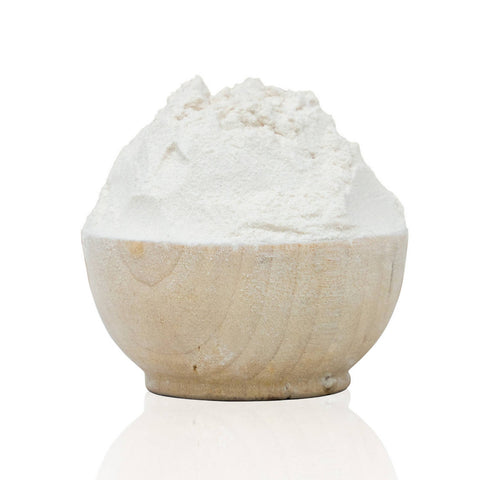
100 grams of Soda Ash
Warm Water
This is to set up your initial vat of around 5 litres + maintenance, we will not need all of this immediately.
A word about hydrosulphite; it has a limited shelf life of about a year, shorter if kept in daylight or in a warm room. If you see your powder has a yellowish tint, it is probably working less and you will need more powder to get the same result.
HARDWARE 1 mason jar of another glass jar of at least one liter a metal teaspoon a water boiler or other source of HOT water. a little bowl for mixing
A bottle of vinegar
A larger container (5-20 litres depending on how large your projects will be) with a lid to store your indigo vat. I have a stainless steel bucket so I can re-heat my vat directly on the gas stove if I want to.
THE PERFECT RECIPE (NON FAIL)
Unlike other natural dyes, the amounts are not measured according to the weight of fibre but according to the total amount of water you want to use in your vat.
Strong vat; Per 1 liter of water; 5 grams of indigo = 1 lightly heaped table spoon of indigo powder
5 grams of Spectralite or Thiox = 1 teaspoon 12 grams of soda ash = 1 + 1/2 table spoon
If you have a digital measuring spoon always use that over eye-balling with a spoon.
For a WEAK vat; use 2 grams of indigo For a Medium vat use 3/4 grams of indigo
So for 5 liters of water as a STRONG vat you would need; 25 grams of indigo 25 grams of Sodium Hydrosulfite and 60 grams of soda ash
Measure, do the math and note down the ingredients you will need for your final vat.
Step 1: Make the “Mother” Vat in a Mason Jar
For this first stage, we are making a small mother vat in a mason jar. This lets you clearly see what is happening in the liquid and helps you recognize the signs of a healthy indigo vat: the color shift, the surface bloom, and the way the vat begins to reduce.
Once you understand what this looks like, you can also work directly in a larger vat by adding all the ingredients to the main container.
In a small bowl, mix the soda ash with a little very hot water. Stir until fully dissolved, then pour it into the mason jar.
Step 2: Make the Indigo Paste
Measure the indigo powder into the small bowl. Add a little hot water and mix until you have a smooth paste.
Keep stirring until you no longer feel any grit or lumps. The paste should become smooth and slightly shiny on the surface. This can take a few minutes, but do not skip this step. A well-made paste helps the indigo disperse properly in the vat.
Step 3: Add the Indigo Paste to the Alkaline Water
Add the indigo paste to the alkaline water in the mason jar while stirring well.
Rinse the small bowl with a little more hot water and add this to the jar too, so you do not waste any indigo. Top up the jar with hot water until the liquid sits just below the rim.
Step 4: Add the Reducing Agent
Measure the reducing agent. Add half of it slowly to the indigo solution while stirring gently. Add the dry powder little by little and keep stirring until it has dissolved.
You may see some bubbling. This is normal.
Once everything is dissolved, stop stirring and hold the spoon still while the liquid continues to move on its own. At first, the water will still look blue, but slowly you should begin to see the vat changing.
Look for these signs:
A coppery film begins to form on the surface.
A “flower” or bloom starts to appear on top of the liquid.
The liquid in the jar begins to shift from blue toward green.
Small blue particles may still float in the water.
Tiny bubbles may rise as oxygen is removed from the vat.
This process can take up to 40 minutes, so give it time.
You now have a small one-liter indigo vat, also called the mother vat.


TESTING
Step 5: Test the Mother Vat
When your mother vat is fully reduced, it is time to run a small test.
Wet out your fabric well before dipping. This helps the fiber take the dye evenly and prevents dry areas from trapping extra air.
Dip the fabric into the vat and keep it under the liquid for a few seconds. Then lift it out carefully, without letting it drip back into the jar. We want to avoid adding oxygen back into the vat as much as possible.
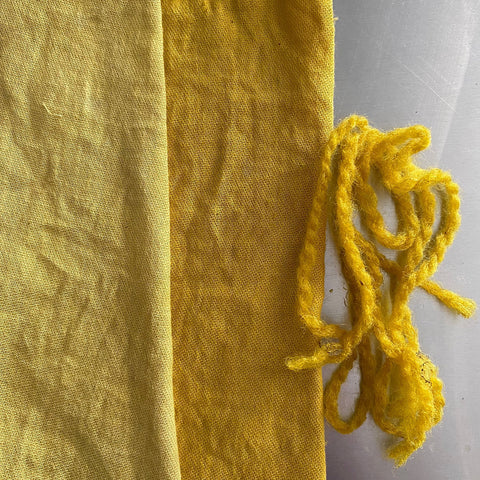
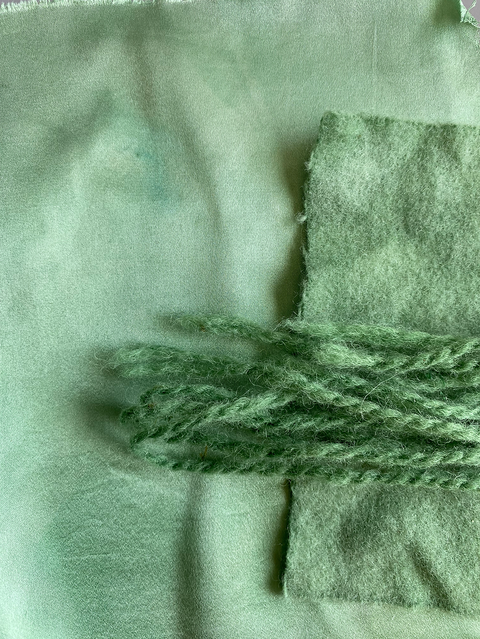
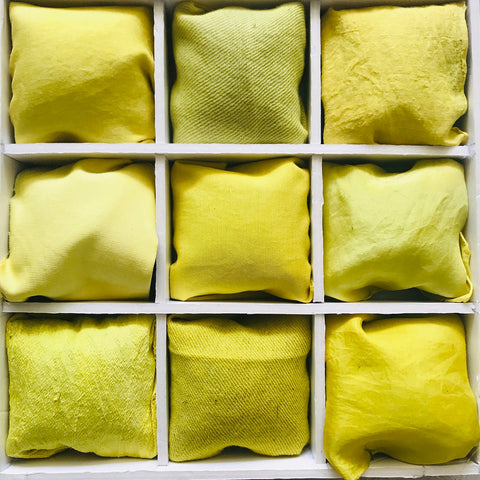
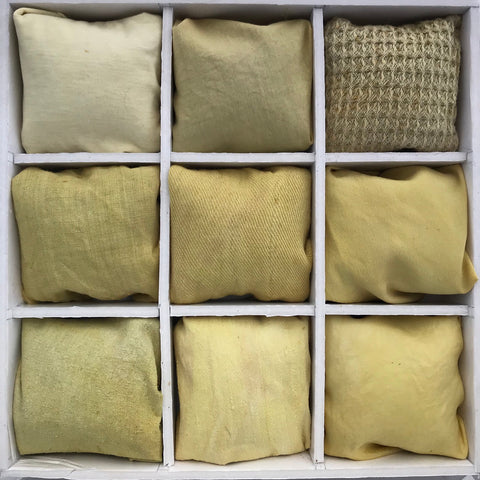
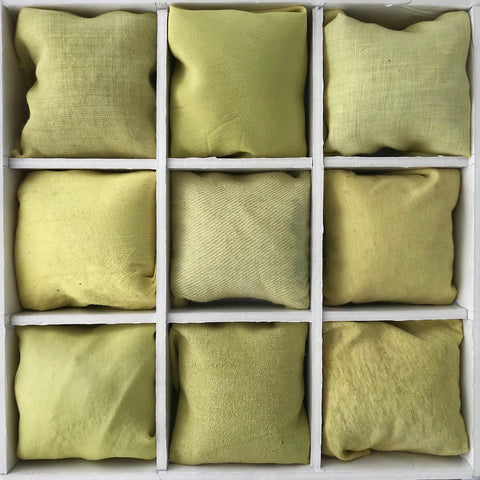
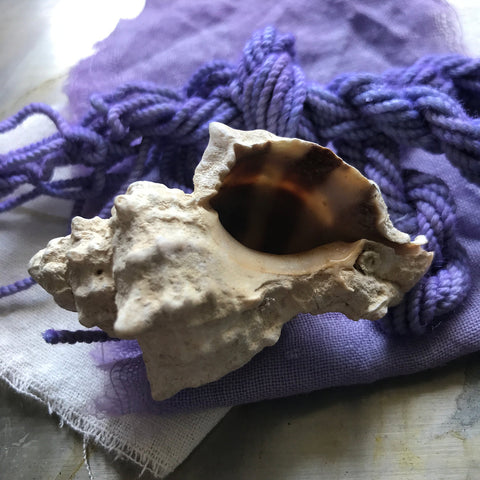
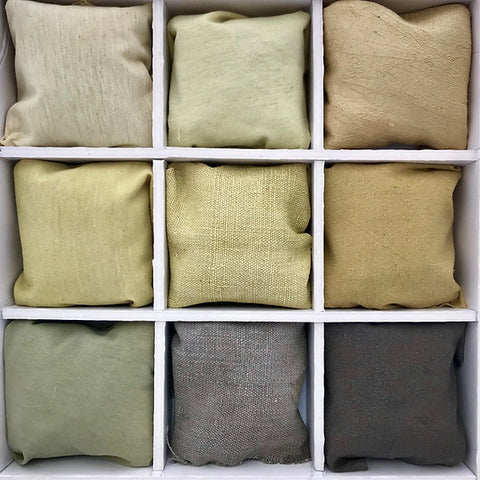
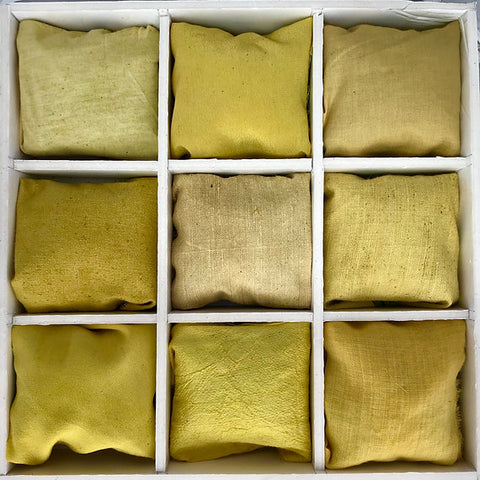
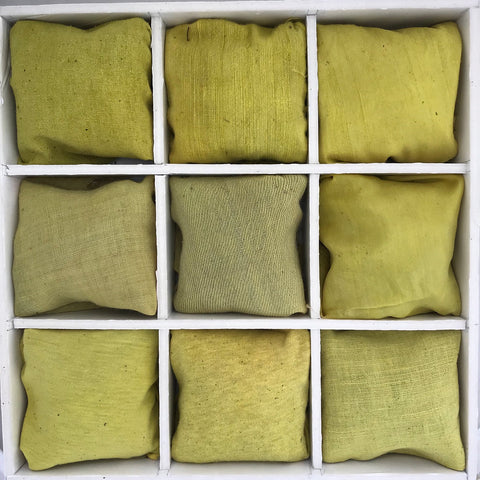
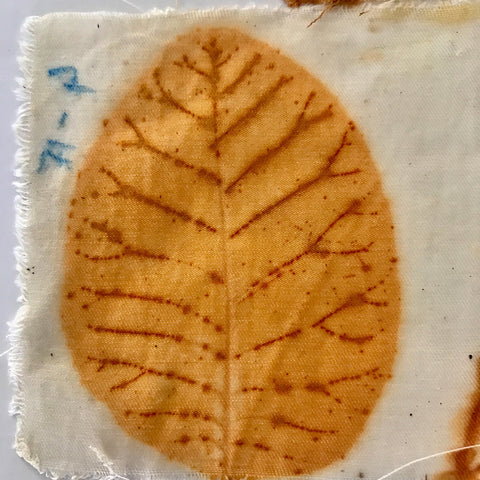
The fabric should come out looking greenish yellow. As it is exposed to the air, it will slowly turn blue. This color change is one of the most magical parts of indigo dyeing.
Wait until the fabric has turned completely blue before dipping it again. Indigo is built up in layers, so several short dips will give a deeper and richer blue than one long dip.
Step 6: Add the Mother Vat to the Main Vat
Now it is time to move from the small mother vat to your larger dye vat.
Fill your bucket with hot water, around 60°C. Add the second half of the reducing agent and stir gently until dissolved.
Slowly lower the mason jar with the mother vat into the larger bucket. Let the reduced indigo solution flow out into the main vat as gently as possible. Try not to splash or pour from a height, as this introduces oxygen into the vat.
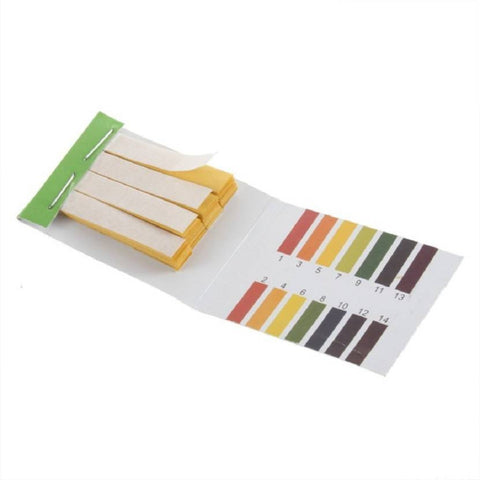
Check the pH with a pH strip. For a hydros indigo vat, the pH should be between 9 and 11. If the pH is too low, add a little more soda ash, stir gently, and check again.
Let the vat rest for another 30 minutes before dyeing.

Dyeing with your indigo vat.
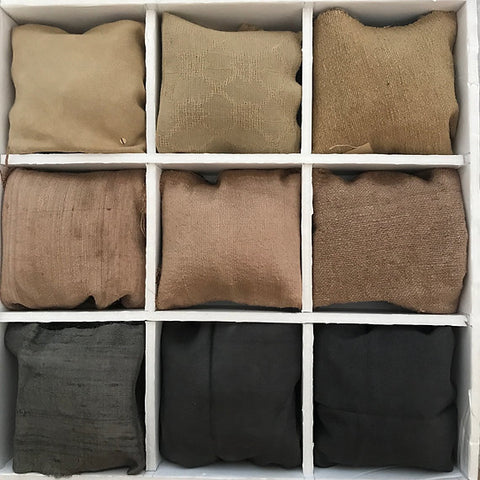
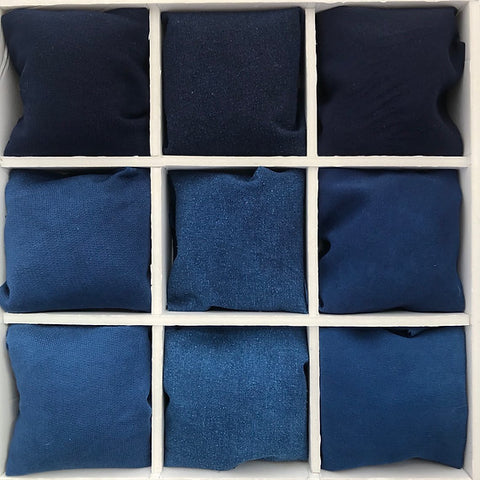
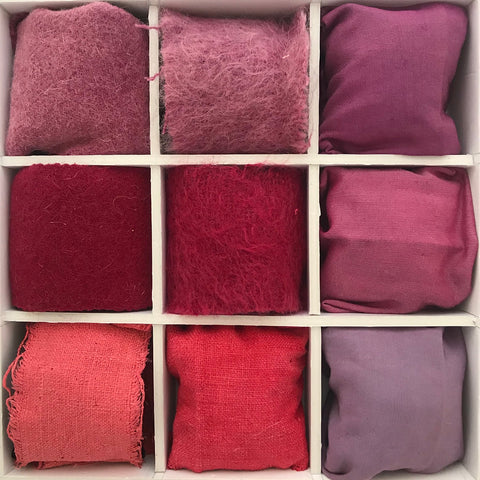
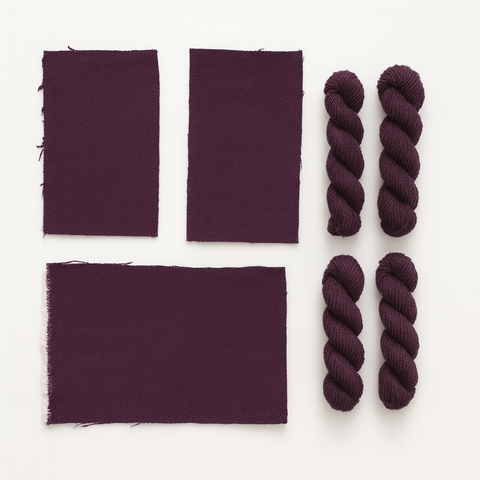
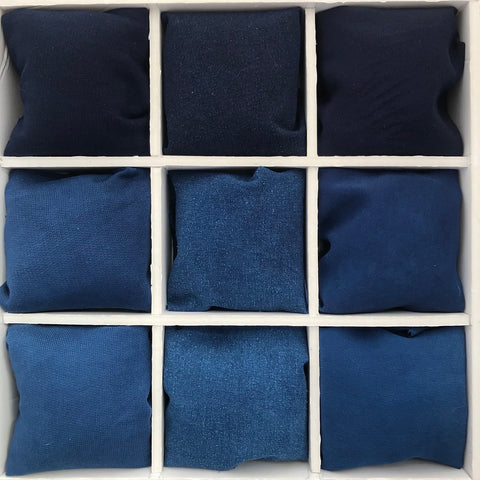
Dyeing in an indigo vat is called 'dipping'. Colour is built up with dips in the vat, exposing to oxygen in between. Depending on how string your vat is, you will need more or fewer dips in the vat to get your desired colour. While your fabric is still wet it will appear to be at least two shades darker than when it will be rinsed and dry!


After care for your fabric When finished, rinse in cold water until the water runs completely clear, use one round of rinsing with diluted vinegar to restore the Ph level in your fabric.
How to Dispose of Your Indigo Vat Correctly
It is best to use your vat until the indigo is fully exhausted. Indigo is precious, and a well-maintained vat can be kept going for a very long time by rebalancing it with small additions of indigo, soda ash, and reducing agent when needed.
When you are finally ready to dispose of the vat, do not pour it down the drain as it is. An active hydros vat is alkaline and oxygen-reduced, so it should be neutralized and oxidized first.
To do this, add about half a cup of vinegar and stir or whisk the vat vigorously to bring oxygen back into the liquid. Check the pH with a pH strip. Once the vat is close to neutral, around pH 7, let any sediment settle at the bottom.
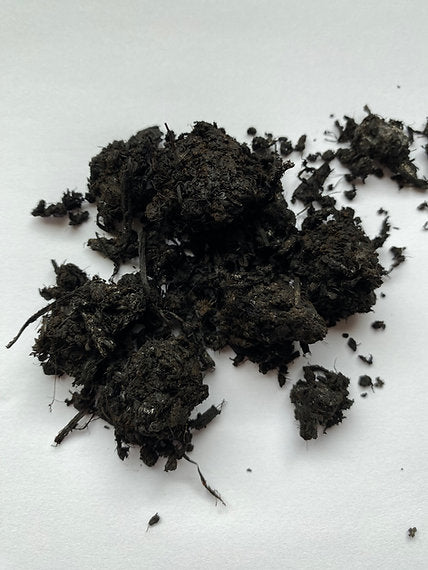
Pour off the liquid carefully. The remaining indigo sludge can be collected, dried, and disposed of with your household waste, unless your local regulations require otherwise.
0 comments